How to Cook Shrimp, With Tips from Kwame Onwuachi
The essential guide to buying, shelling, deveining, and—of course—cooking America’s favorite shellfish.
Sweet, plump, succulent shrimp are a delicacy from Barcelona to Bangkok to the Bayou. And what’s not to like? They’re versatile, protein-packed, quick to prepare, and easy to eat. Well-prepared shrimp bears little resemblance to the pinkish lumps found in supermarket shrimp cocktail and shopping-mall fried rice—as anyone who’s tasted real-deal paella, ceviche de camarón, or pad thai can attest. With a few basic techniques under your belt, you’ll be churning out restaurant-worthy shrimp dishes in no time.
Here’s our primer on all things shrimp, from buying tips to essential equipment to simple, foolproof recipes.
What you need
- A sharp paring knife
- A cast iron skillet, rimmed baking sheet, large pot, or grill
Before you begin
The question of whether it’s better to buy shrimp fresh or frozen is irrelevant to the vast majority of American consumers, to whom unfrozen shrimp is simply unavailable. Raw shrimp found at most groceries and fish markets are actually just thawed. For that reason, unless you’re shopping for tonight’s dinner, it’s better to buy frozen shrimp and defrost it at your leisure.
Step 1: Buy the right species and size of shrimp.
There are hundreds of shrimp species in the sea, but the most readily available in America are white, pink, and black tiger. We’re partial to white shrimp for their meaty texture and mild sweetness. Those labeled “extra large” or “21/25” are ideal for most preparations as they’re substantial enough to stay juicy while not so large that the exterior dries out before the inside is cooked. (Numbers like 21/25 correspond to the number of shrimp per pound.)
Step 2: Beware of red flags.
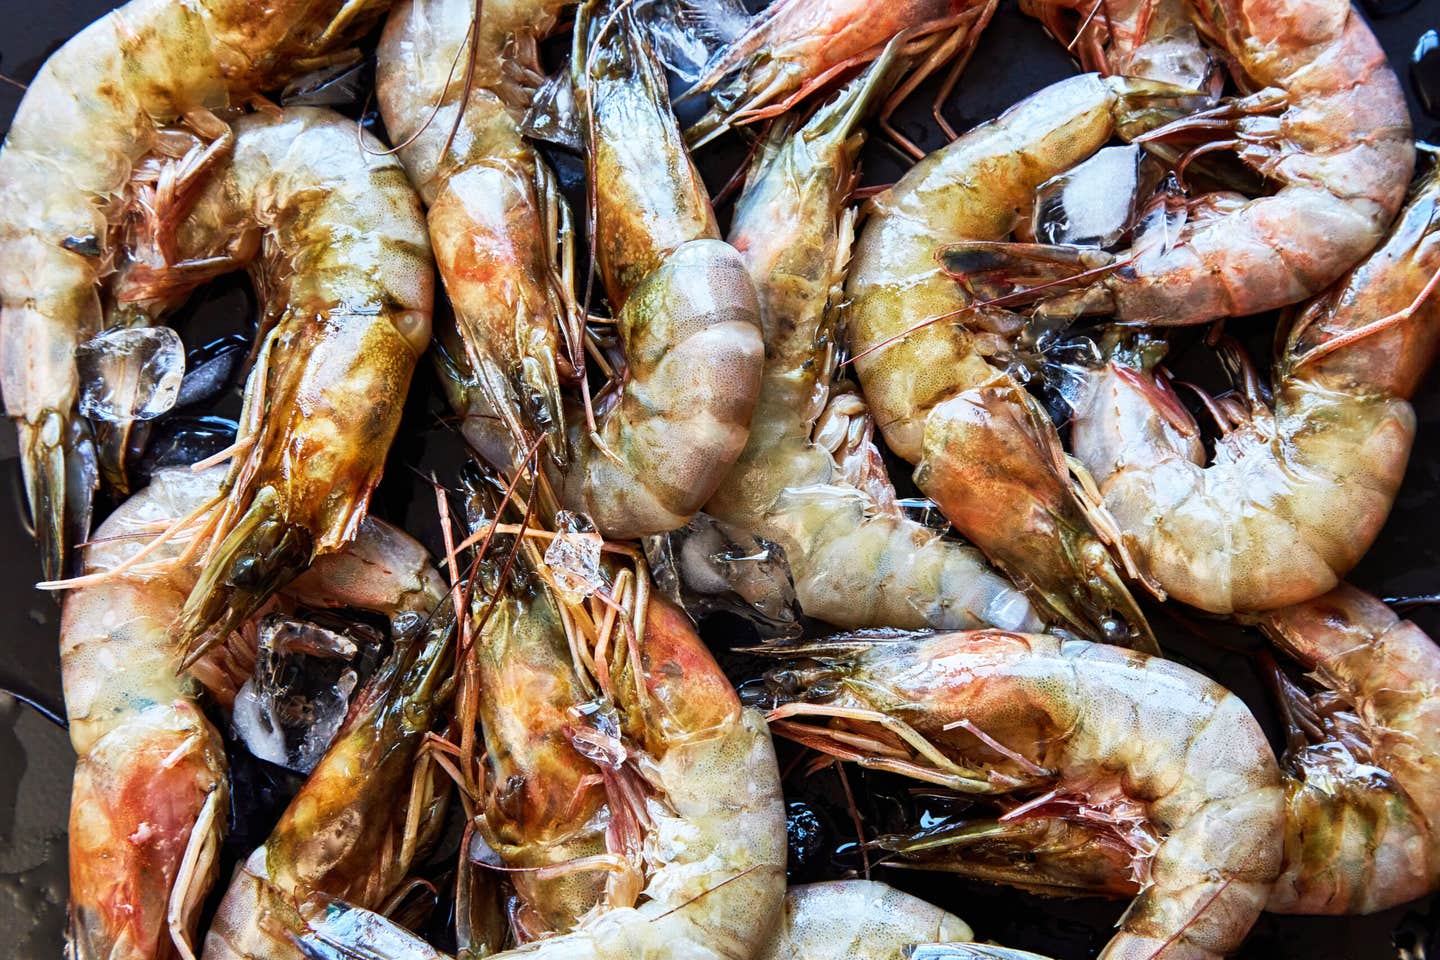
Shrimp should always smell like the sea and never like ammonia, a telltale sign of spoilage. As a rule, wild tastes better than farmed. That said, the wild shrimping industry is plagued with social inequity and questionable environmental practices. Always look at the ingredients list on the box or bag: Shrimp should be the only thing listed. Crustaceans treated with salt or STPP (sodium tripolyphosphate) have an off taste and a spongier texture than their IQF (“individually quick-frozen”) counterparts, which are a better—if pricier—bet. We seek out U.S. shrimp over imported as the American industry is better regulated than those of major exporters like Thailand.
Step 3: Start by removing the shells in one fell swoop.
Using your fingers, pinch off the head (if the shrimp are head-on) and remove the legs (sometimes these are pre-removed as well). Then, peel back the shell just above the tail and, with your thumb between the shell and flesh, twist toward the head. The shell will pop off in one or two pieces. Don’t discard the shells or heads—boiled for 15 minutes and strained through a fine-mesh sieve, they make a sweet, flavorful stock. You may wish to yank off the tails for easier eating; we leave them on in dishes like shrimp cocktail as they serve as dainty little handles (an aside: this is our favorite cocktail sauce). Shrimp should never be peeled under running water as doing so removes flavor.
Step 3: Devein the shrimp with a paring knife.
Small and medium shrimp need not be deveined, though some cooks choose to for aesthetic purposes. The “vein” is the shrimp’s intestinal tract, and in large shrimp, it can contain grit and ought to be removed. To do this, run the tip of a paring knife down the back of the shrimp just beneath the surface, then use the tip to lift out the vein.
Step 4: Salt the shrimp ahead of time.
Salting shrimp in advance has a similar effect to brining a pork chop or steak: It helps them retain moisture while cooking. Simply toss the shelled shrimp in a bowl with kosher salt (1 tablespoon per pound of shrimp) and let stand for 15 minutes before proceeding with the recipe.
Step 5: Dry the shrimp.
If your shrimp are destined for the skillet, you’ll want to blot them dry with paper towels as removing excess moisture makes for better browning.
Step 6: Boil, sauté, bake, or fry the shrimp.
Now it’s time to choose your own adventure! A terrific springboard into the wide world of shrimp cookery is Kwame Onwuachi’s easy spicy peel-and-eat shrimp, a favorite recipe from his cookbook, My America: Recipes from a Young Black Chef, the current SAVEUR Cookbook Club pick. But we’ve also got you covered with a wide selection of shrimp recipes from our archives that walk you through grilling, boiling, roasting, and more. The through-line here is cooking the shrimp for less time than you might think, until the center is nearly (but not completely) opaque. When making seafood stews, for instance, Onwuachi recommends “cutting the heat before adding the shrimp and then letting them gently cook for a minute or two.”
Final thoughts
Americans are wild (forgive the pun) about shrimp, and we’re eating more every year. So there’s no better time to expand your repertoire and experiment with new recipes and flavors—especially when pristine Gulf shrimp are only a click away.
Keep Reading
Continue to Next Story
