
How to Make the Best Scones, According to a Pro Baker
Learn these secrets, and they’ll always be tender and flavorful.


Scones have a reputation for being dry and hard, which can translate to disappointment at tea time or, frankly, any other time they appear on the table. But with the right recipe and technique, the dainty triangular pastries can be tender, fluffy, and bursting with buttery flavor.
But what exactly are scones, and how do they differ from biscuits? Scones are British, and they’re usually crumblier, sweeter, and denser than their American counterparts. Across the pond, they’re a fixture of afternoon tea, often split and filled with clotted cream and jam, and they’re sturdy enough for savory toppings and sandwiches. Mix-ins like cheese, herbs, and fruit are popular, a versatility that’s part of their charm—and also their downfall: A heavy hand will turn the dough dense and tough while too much flour or too little fat result in dryness. But if you avoid these pitfalls, you’ll be a successful scone-maker in no time.
To perfect my technique, I turned to scone expert Joy Wilson—better known as Joy the Baker—at the Charleston Wine + Food Festival.
Her recipe comes together in under an hour, so warm pastries can be on the table soon after you wake up on a weekend morning, when Joy herself often bakes a batch. “Scones are low lift,” she says. “They’re simple to make yet feel fancier than a standard breakfast.”
Step 1: Gather your ingredients.
Preheat the oven to 400°F and line a baking sheet with parchment paper. Before you combine the dough, gather your mix-ins, such as berries, dried fruit, chocolate chips, grated cheese, or finely chopped herbs. Scones come together quickly and rely on cold butter for their texture, so prepping everything in advance is key. (Be sure to keep all ingredients and mix-ins as cold as possible to prevent the butter from softening.)
Step 2: Mix the dry ingredients.
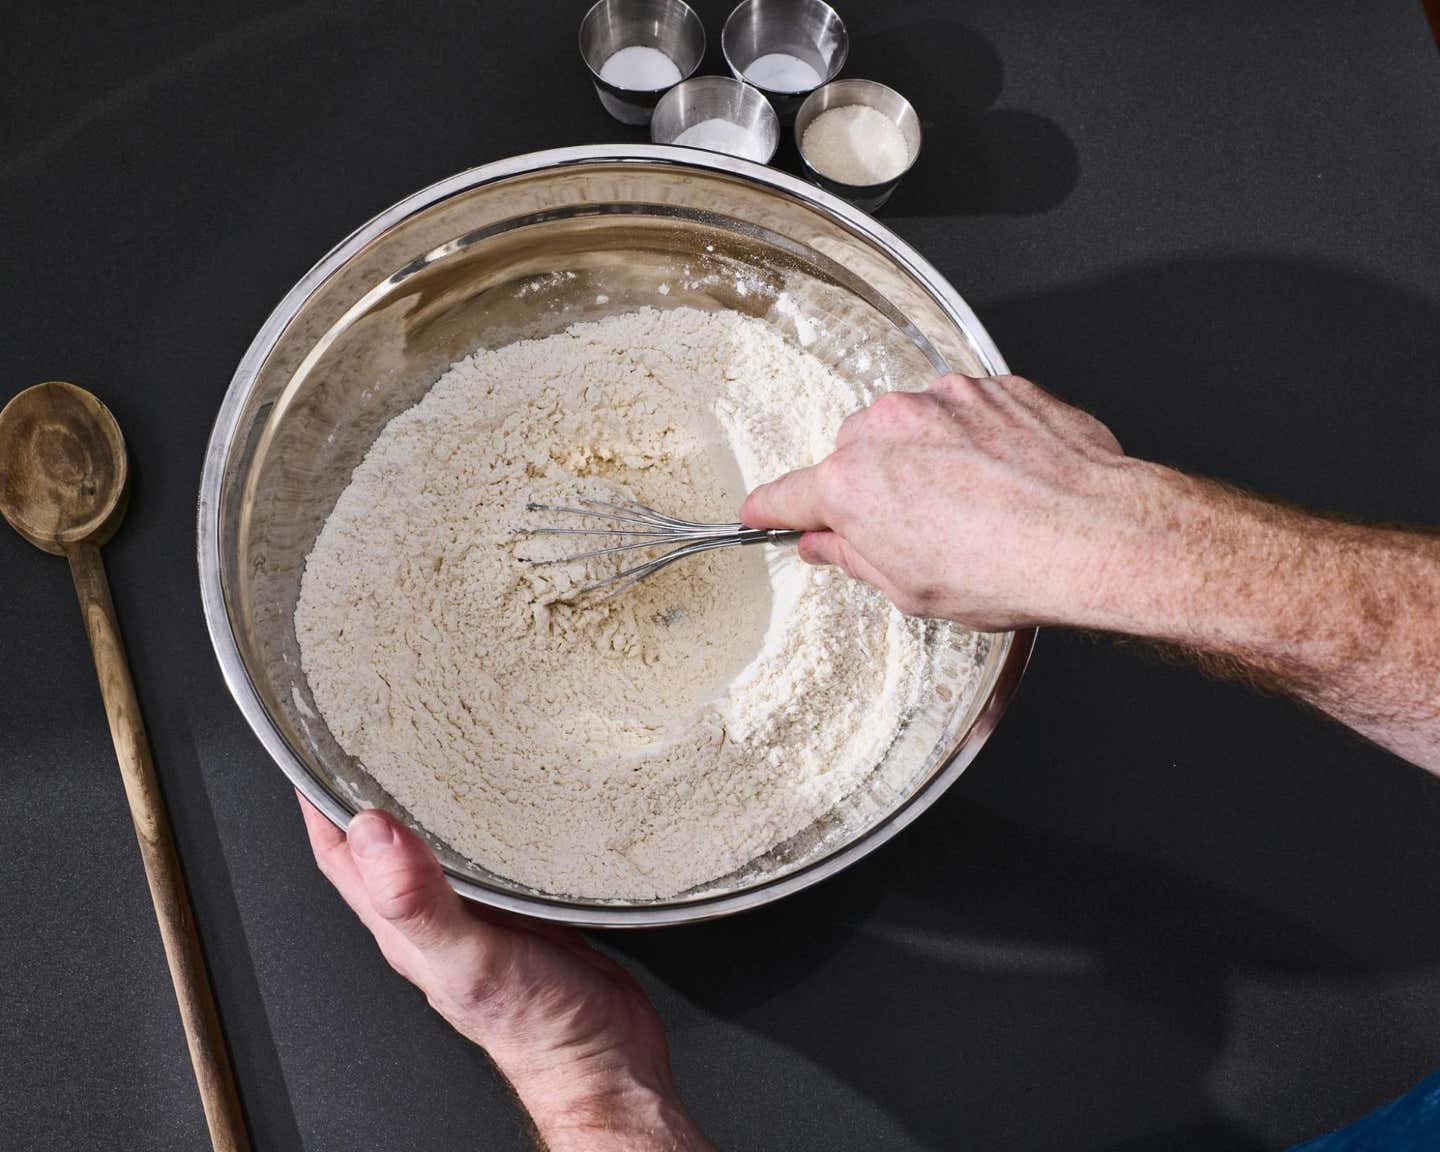

In a large bowl, whisk together 2¼ cups flour, 2 tablespoons sugar, 2½ teaspoons baking powder, ½ teaspoon baking soda, and ¾ teaspoon kosher salt. For a whole-grain variation, swap up to 25 percent of the flour with another grain—any more, and the flavor and texture could shift dramatically.
Step 3: Add the fat.
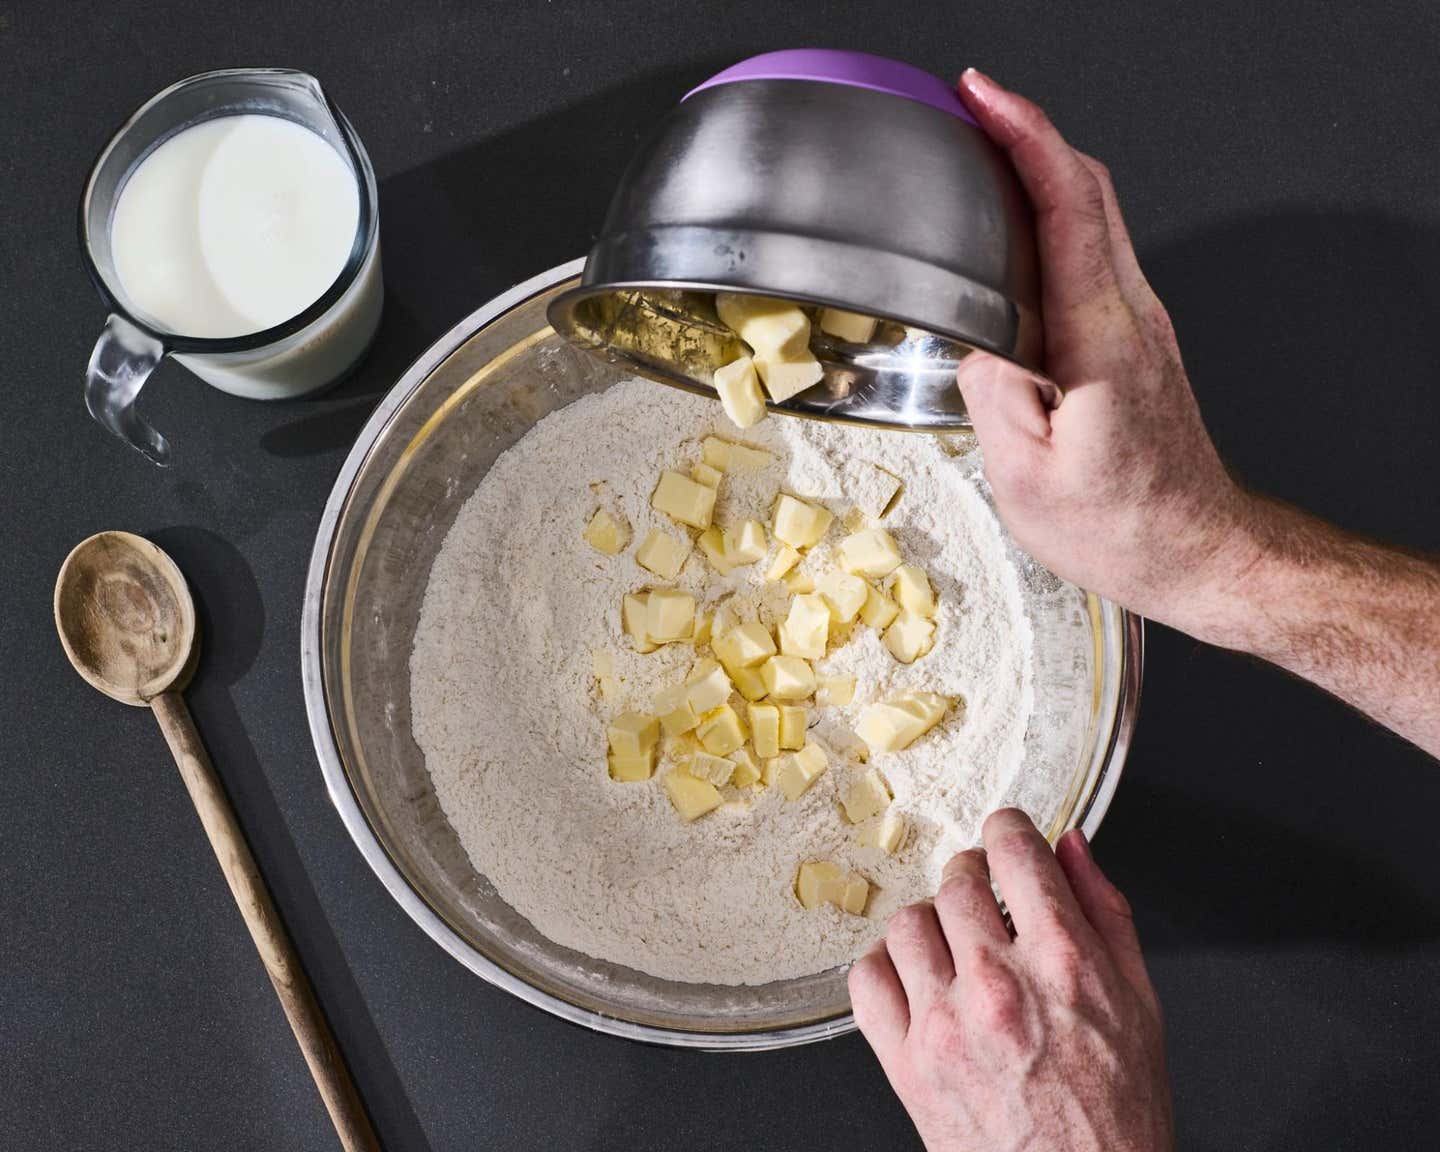

Using a pastry cutter or your fingers, work 8 tablespoons cubed cold butter into the dry ingredients until pea-size crumbles form. Move quickly and stop once the mixture looks sandy. Cold butter is key, Joy explains: “Often, home bakers don’t work the butter fast enough.” When this happens, it melts into the flour, developing gluten and turning the scones dense and gummy. Working swiftly allows the butter to remain in small chunks that later release steam in the oven, creating flaky layers.
Step 4: Add the buttermilk and mix-ins.


Make a well in the center of the butter-flour mixture and pour in 1 cup cold buttermilk. Gently stir with a wooden spoon or spatula until the dough just comes together. It should look shaggy, without any powdery spots. If needed, add more buttermilk 1 tablespoon at a time; factors like climate, humidity, altitude, and flour type all affect how much liquid the dough absorbs.
“When in doubt, lean toward a wetter dough,” Joy advises. “You don’t want it to dry out in the oven.” Avoid overmixing, which can make scones dense: Once the dough is shaggy and just combined, you’re set. Now fold in your mix-ins (about ¼–½ cup) with a spatula or wooden spoon.
Step 5: Shape the dough.
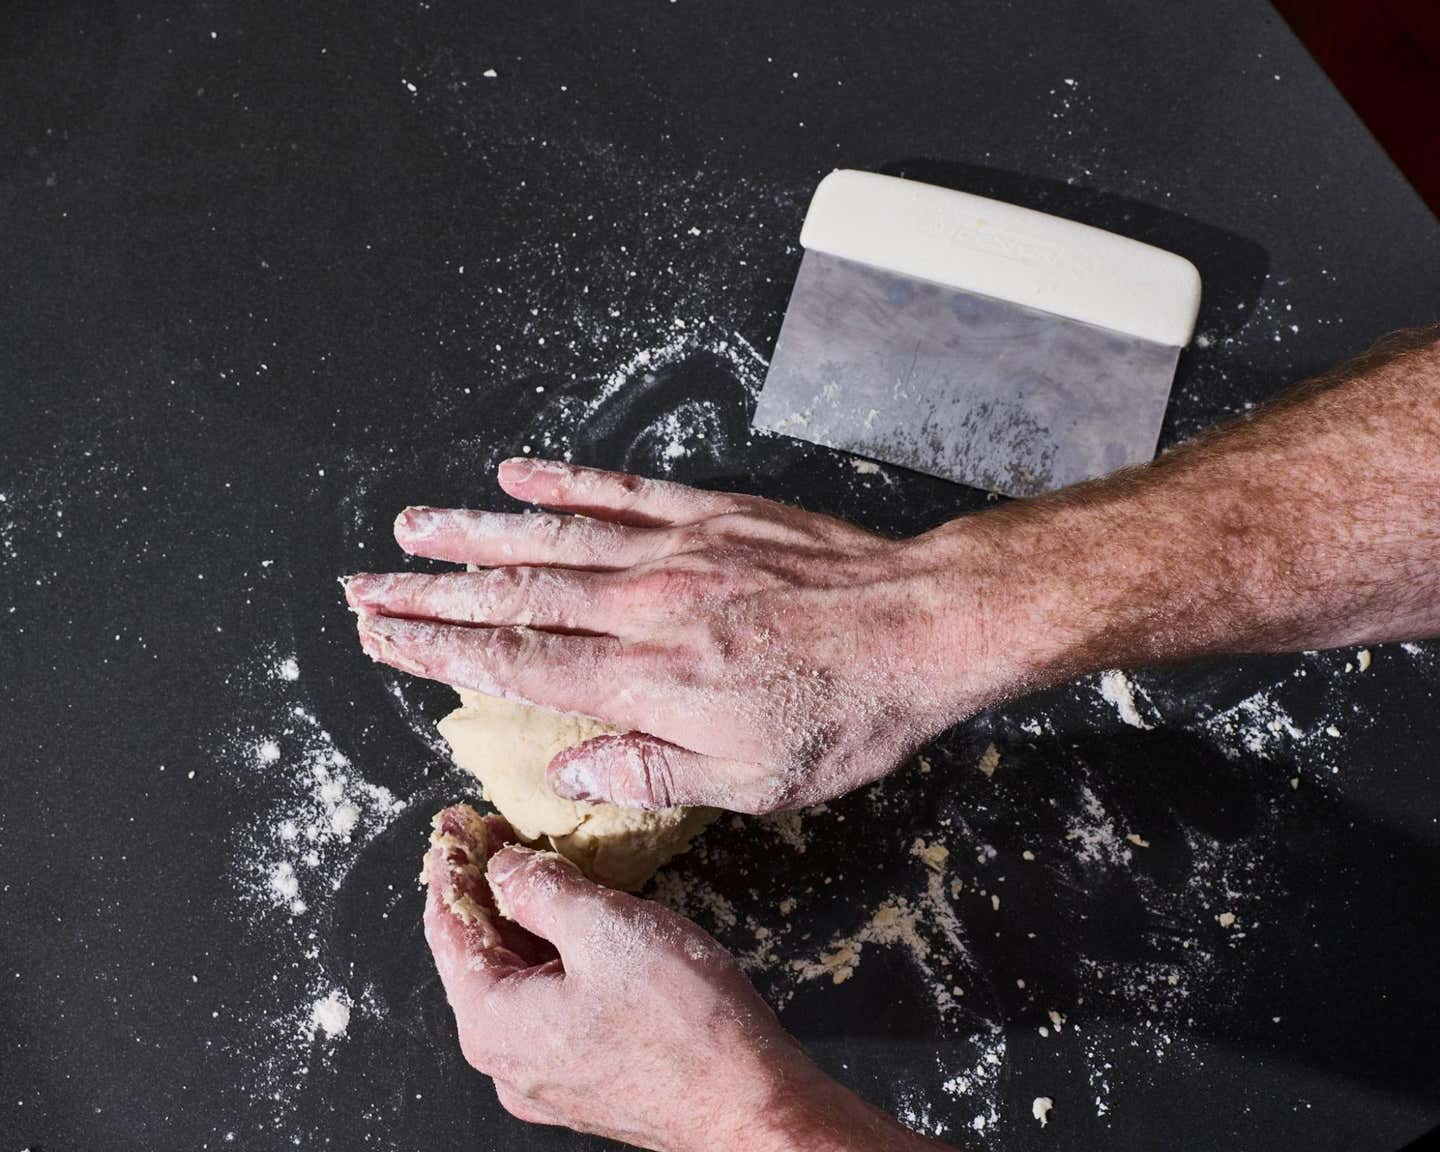

Turn the dough out onto a lightly floured surface and, without kneading, pat it into a 1-inch-thick rectangle. Using a bench scraper or chef’s knife, cut the rectangle in half, stack the halves, and press down lightly to fuse. Repeat two or three more times to create tall, flaky scones with plenty of lift.
Step 6: Cut the scones.


Pat the dough into a 1-inch-thick circle or rectangle, then cut into wedges, squares, or rounds with a sharp knife or biscuit cutter. Gather any scraps to form extra scones. Arrange them on your prepared baking sheet. If you’re baking later, cover and refrigerate or freeze to prevent the dough from drying out.
Step 7: Bake to golden perfection.


For a golden shine, brush the tops with a little buttermilk or an egg wash (raw egg whisked with a splash of water, milk, or cream). Bake for 15–18 minutes, or until the scones are puffed, golden, and fragrant. To avoid overbaking, test with a toothpick or cake tester; it should come out clean when the scones are ready.
Step 8: Cool (slightly!) and serve.
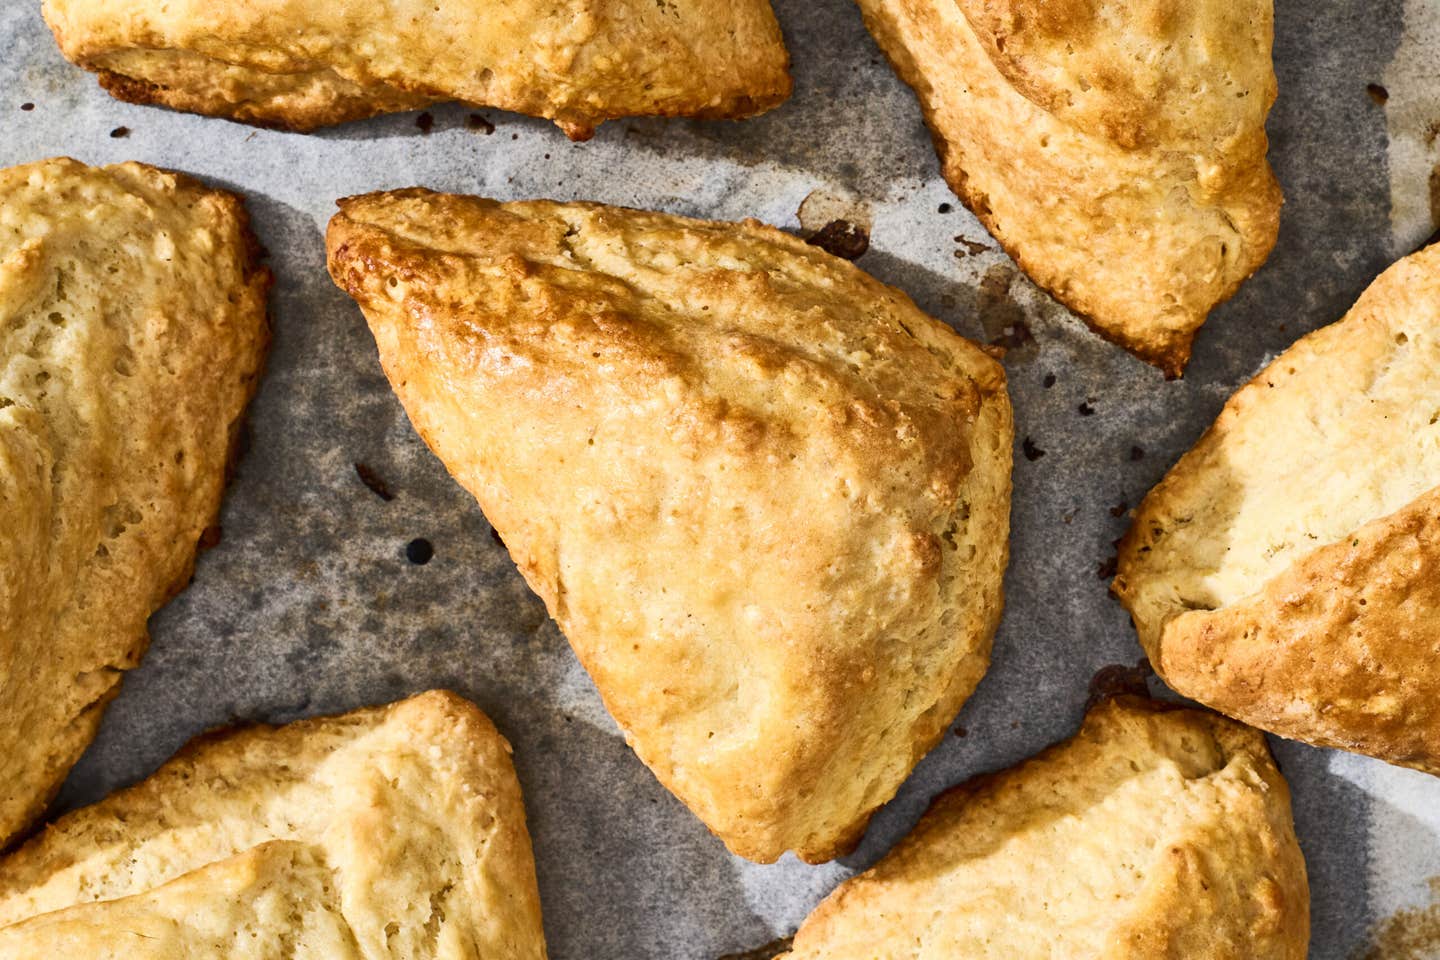

Let the scones cool slightly on the baking sheet before transferring to a wire rack. Serve with butter, jam, or clotted cream, or go savory with mustard, cheese, cured meats, or hearty breakfast sandwiches. They also make a terrific sidekick to soups and stews.
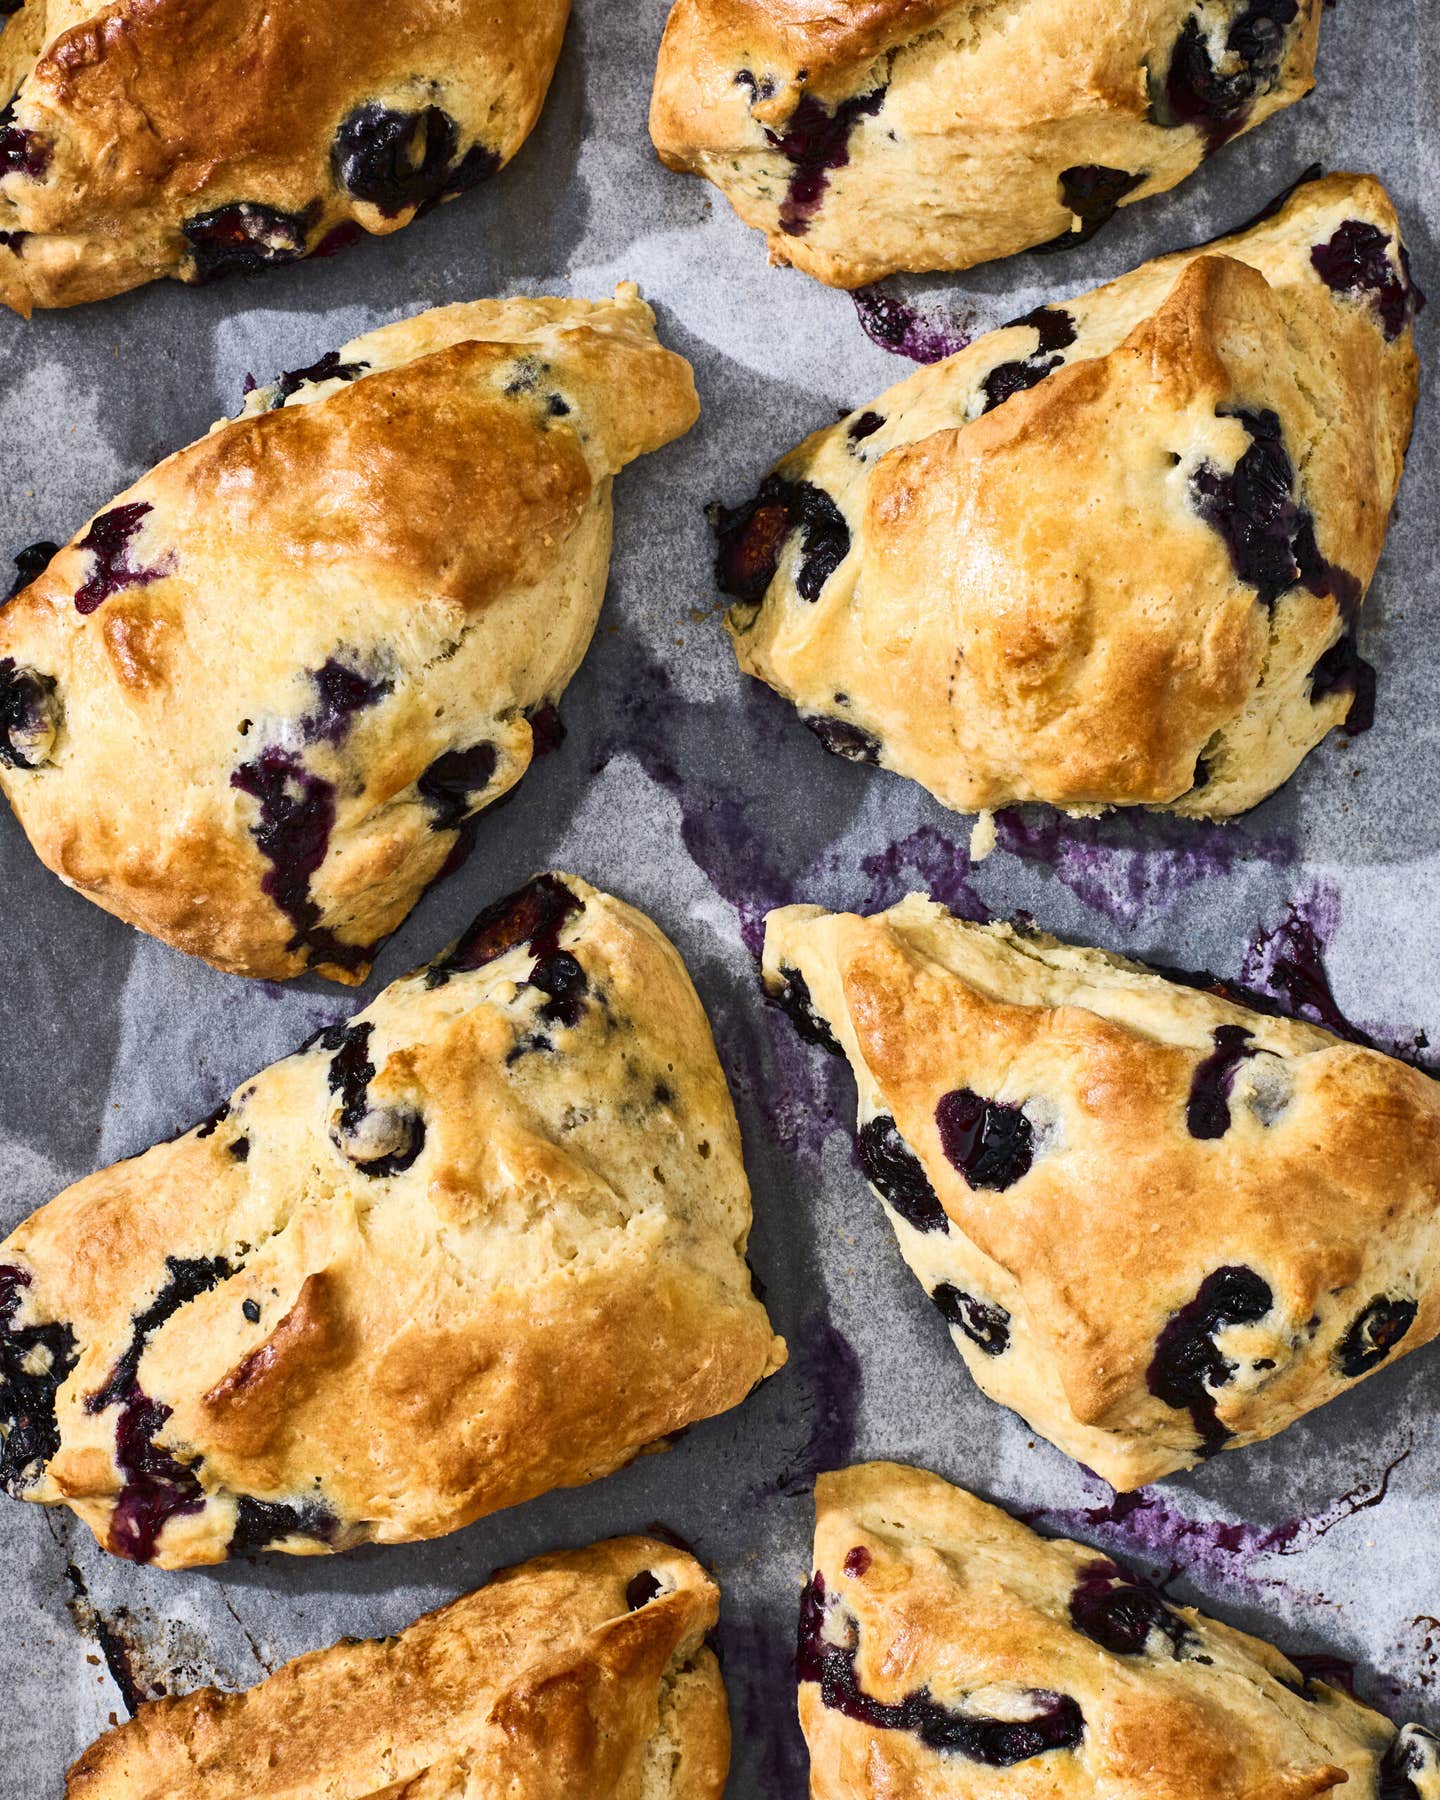
Recipe: The Best Blueberry Scones

Keep Reading


Continue to Next Story
