The Most Foolproof Ways to Toast Nuts to Your Liking
No burning, no scorching, and just the amount of color you like—here’s how the pros punch up their peanuts, pecans, walnuts, and more
There are simple tasks that many of us pick up along the way. A parent or grandparent may teach you how to tell when a cake is done baking. At some point after college, someone at some point will share how to properly sear a steak. And if you're very lucky (or just committed), you might make it to adulthood knowing how to put a nice meal in front of yourself and your loved ones.
But in these post-home-ec times, maybe you’ve missed a few details along the way, too. If you’ve tried your hand at toasting nuts and scorched them to a bitter and expensive mess while multitasking the rest of dinner, you might throw up your hands and leave that step out for the rest of your nut-eating days. And what a sad way to live!
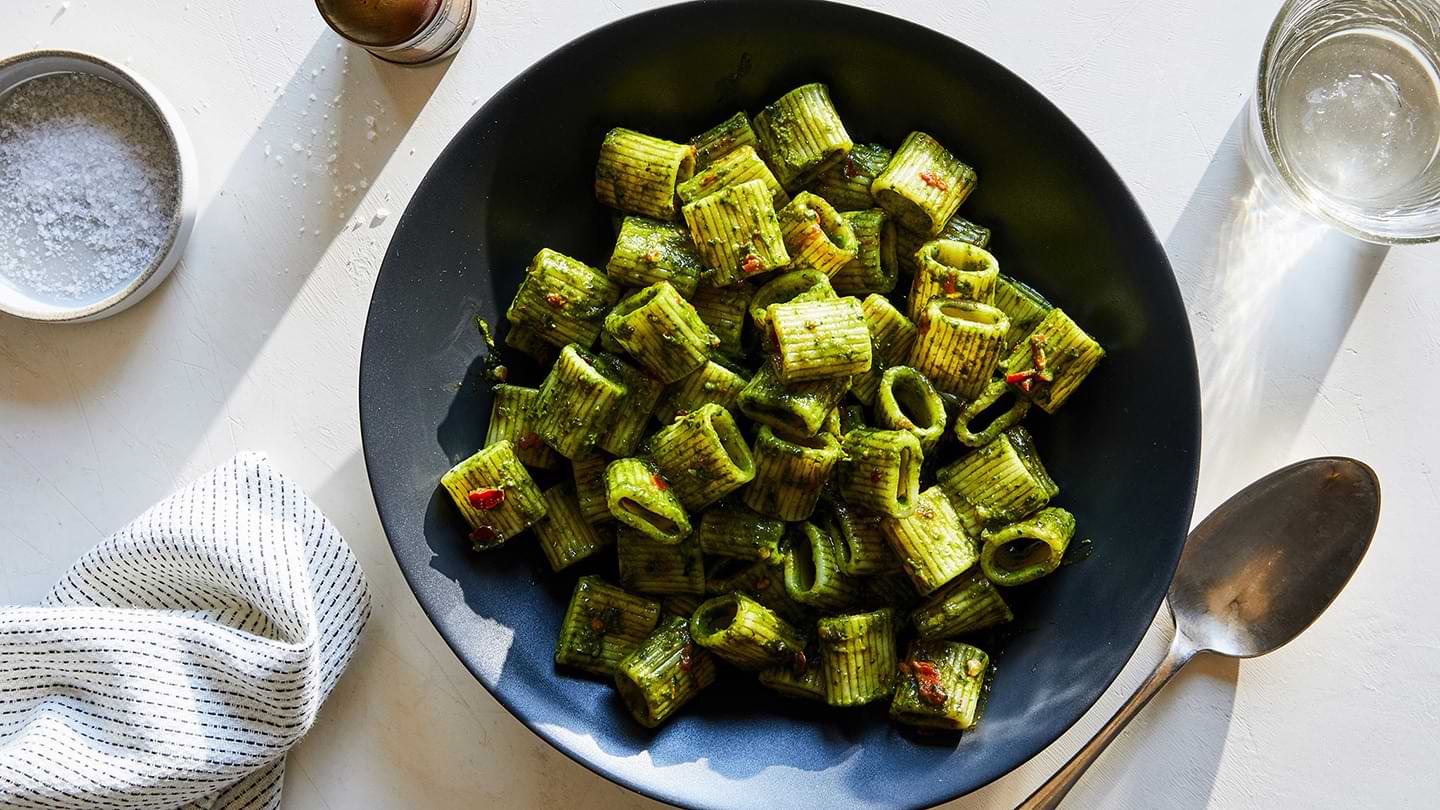
Raw nuts are fine for snacking or making nut milks, but toasting them transforms their waxy texture and muted flavor into crispy, fragrant morsels. Toasted are better suited for adding to salads, yogurt bowls, pastries, and all kinds of savory dishes.
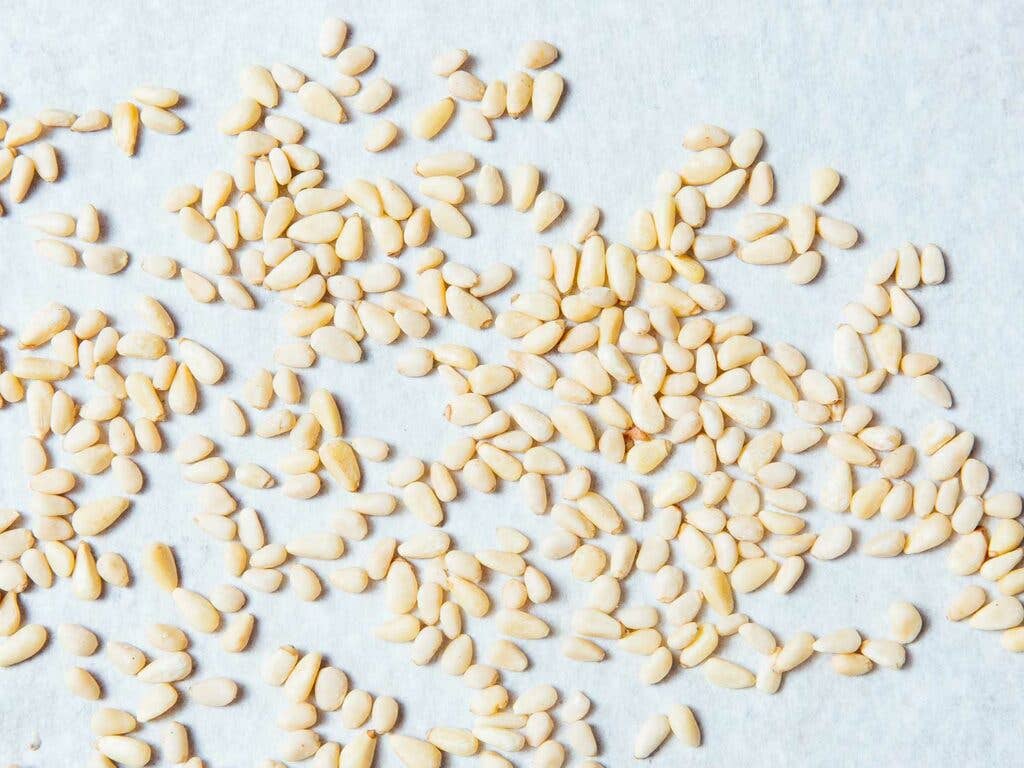
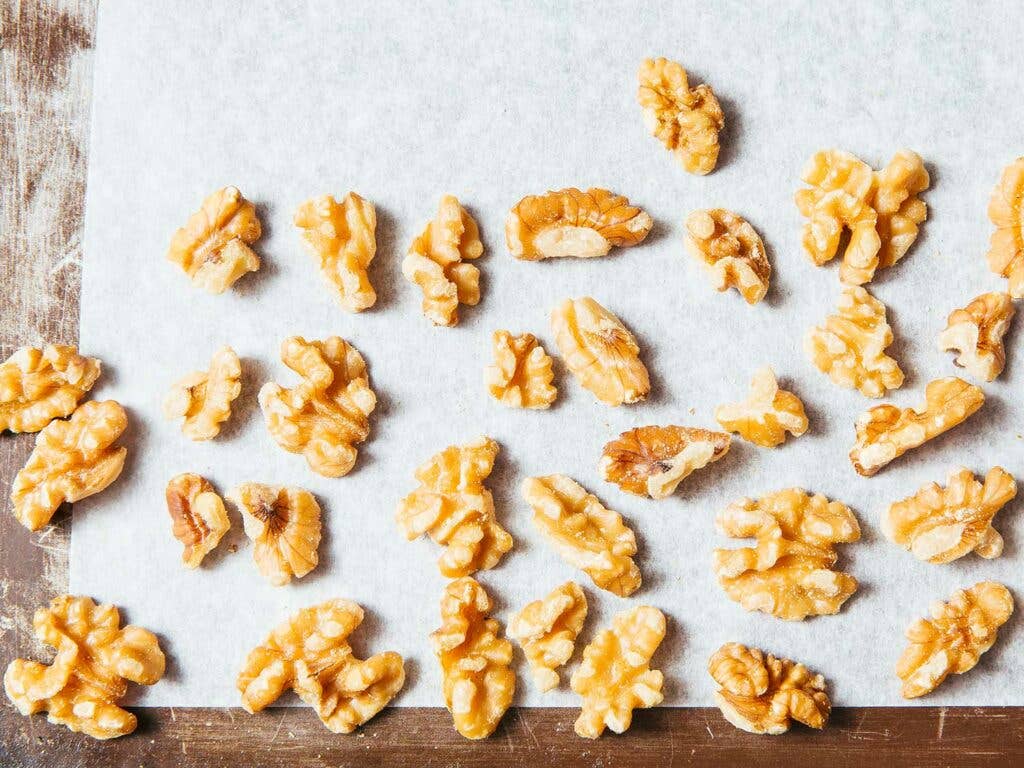
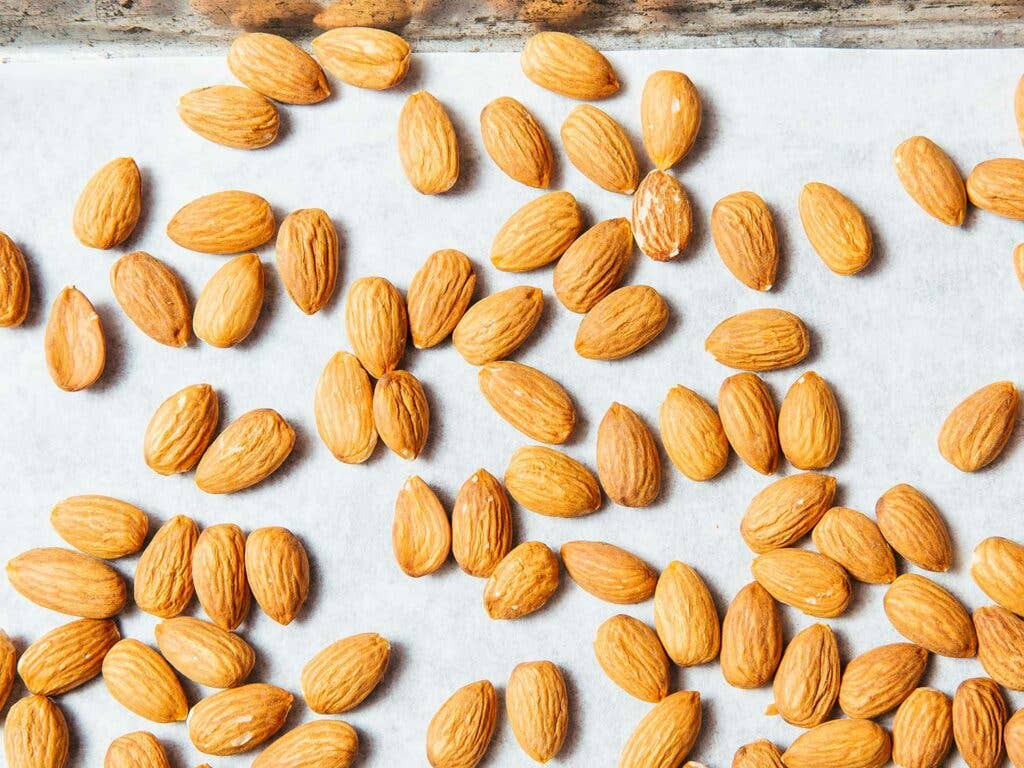
If a recipe calls for toasted nuts and doesn’t tell you how to do it, we’ve got you covered. Whether it be pine nuts, hazelnuts, almonds, walnuts—or most other nuts under the sun—head on to learn (or revisit) this helpful kitchen task.
The Basics
Start with fresh, raw, whole nuts. “Even if you want to end up with chopped nuts, roast them whole whenever possible,” says Saveur Test Kitchen director Kat Craddock. “Irregularly sized chopped bits will cook unevenly and are more prone to burning.” Burned nuts are unpleasantly bitter and a sprinkling of scorched bits have the potential to ruin the whole batch. (The exception is slivered and sliced almonds, both of which are typically consistently-sized; they will, of course, toast more quickly than whole nuts, so keep a close eye on them.)
Never use oil in a pan or on a baking sheet when toasting nuts. It's not necessary and it could change not only the flavor of the nut but the way it is used in a recipe.
And finally, when in doubt, stick to low and slow heat. Impatience is to blame for lots of batches of burned nuts, so keep the heat source on the low side whether it’s your oven or stovetop (see below for specific temperatures).
How to Test for Doneness
Scent should be your first cue: Most nuts will start to become fragrant when they’ve had a few minutes of heat applied to them. Usually by the time you smell this, they are close to ready. (Watch our for burning smells, which mean you may have overdone it or the nuts need a good stir or shake in the pan.)
When you break open or chop a perfectly toasted nut, the inside should not be fully browned throughout. A thin layer of golden around the edges and radiating from the outside—which will lend the slightest bit of toastiness—is enough to properly enhance a nut’s flavor and texture. If you want to go further than that, continue cooking cautiously and remember that the more toasted a nut will be, the more its flavor will dominate a dish, and the more brittle it will become.
For some nuts, there are additional tells. Hazelnuts, for example, will start to loosen their skins when they are toasted, or it will be easier to rub off using your fingers.
How to Toast Nuts in the Oven (or Toaster Oven)
Preheat the oven to 325°F. You can line a large baking sheet with parchment paper or aluminum foil, or skip this step if desired. Spread the nuts in a single layer without crowding them too close together. Two cups for a large (around 18x13-inch) baking sheet is about the right amount.
Transfer the baking sheet to the oven and bake until the nuts are just fragrant and ever so slightly browned, about 5–8 minutes, depending on the size and type of the nut. The nuts on the edges of the pan or near hot spots in your oven will likely cook faster, so give all of the nuts every 2 minutes or so.
How to Toast Nuts on the Stovetop
When time or the weather keeps you from wanting to turn on the oven (or when the oven is otherwise occupied), toasting nuts on the stovetop works just as well. However, it can be a slightly more delicate process, and one that requires more steady attention.
Start with any appropriately sized, dry stainless steel skillet that can fit the nuts without crowding them. Set it over medium-low heat, then add the nuts and spread them into a single layer. Cook, stirring gently and often until the nuts are fragrant and evenly, lightly toasted, about 3–6 minutes depending on the size and type of the nut.
Never walk away from the stove while toasting nuts on the stovetop. As the pan heats up, the nuts will be prone to scorching and they can go from raw to burned in seconds.
How to Store and Use Toasted Nuts
Once you’ve toasted your nuts—this is important—immediately transfer them to a cool, heat-resistant bowl or container. If you leave them on a hot pan, they can continue cooking and even burn. For most applications, you will want to cool them completely before using them in a dish to allow the fats to resolidify, returning the nuts’ satisfying crunch. This happens quickly, but if you’re pressed for time, spread them out in a single layer on a cool surface to speed up the process.
If you’re not using the toasted nuts right away, transfer them completely cooled to an airtight container and store at room temperature for up to 2 weeks.
Odd Nut Out
The one exception to the above methods are chestnuts, which are nutritionally and chemically quite different than other nuts and thus need to be handled differently. See here for our tips on how to use those festive seasonal treats.
Keep Reading

")


Continue to Next Story