
How to Assemble a Showstopping Charcuterie Board
Whether you’re making it for a crowd or just for one, here are our tips for building a beautiful spread of meats, cheeses, and accoutrements.
Charcuterie boards don’t need an introduction at this point, do they? Despite their secure status as a classic party appetizer, these design-forward snack boards have recently surged in popularity on social media, dominating Instagram, TikTok, Pinterest and the hearts of every cheese and cured meat enthusiast on the planet. They have become the subject of many cooking classes and for some, assembling them has become an entire career. The appeal is easy to understand: they don’t involve actual cooking, which makes them more of an art project than a culinary pursuit; they don’t necessarily involve flatware, so eating one is both a refined and primal act; finally, they’re also highly customizable, and who doesn’t love a good choose-your-own-adventure type of snack?
Depending on who is preparing it and their level of artistry, assembling a charcuterie board can be anxiety-inducing. What is the right quantity of components, and where exactly does one start when arranging them? The options are endless, plus all of those intricate, perfectly executed salami roses and prosciutto rivers we see on social media don’t help the performance anxiety. Luckily, your board doesn’t have to rival a Renaissance painting to be a hit. It all comes down to mastering the basics and choosing what you like. There are no rules in snack board land (except that choosing high-quality ingredients is key). There are, however, some best practices for getting the most out of your experience.

Step 1: Choose your canvas.
A wooden cutting or serving board is an obvious first choice simply for aesthetic purposes, but any other flat serving platter or piece will do. The goal is to cover your surface, so keep in mind that the bigger the board, the more you will spend to cover it.
Step 2: Gather your equipment.
In addition to a board, you will need a variety of small knives and spreaders and some petite bowls or ramekins for your dips, jams, olives, and the like. Toothpicks or mini forks are also helpful and prevent people from getting too handsy with the food, particularly if you do not plan to provide plates. Labels to identify cheeses and spreads are helpful as well, but not necessary (if hosting guests with known allergies, labels are more than recommended).
Step 3: Pick your players.
Meat: When it comes to charcuterie, meat is the name of the game. Literally. The word itself is a portmanteau of the French words for flesh and cooked, “chair” and “cuit,” respectively. Three types of meat is a good place to start, keeping in mind to use a variety of textures. Soft, pre-sliced meats like prosciutto can be paired with a harder cured meat, like salami, which guests can slice themselves. Round it all out with a spreadable option, like pâté, mousse, or a terrine. If you feel like turning on your stove, a crisped-up sliced sausage provides a pleasant and unexpected smoky element.
When it comes to quantities, two ounces of each meat/cheese per guest is a generally accepted guideline. Double that if the charcuterie board is the entire meal.
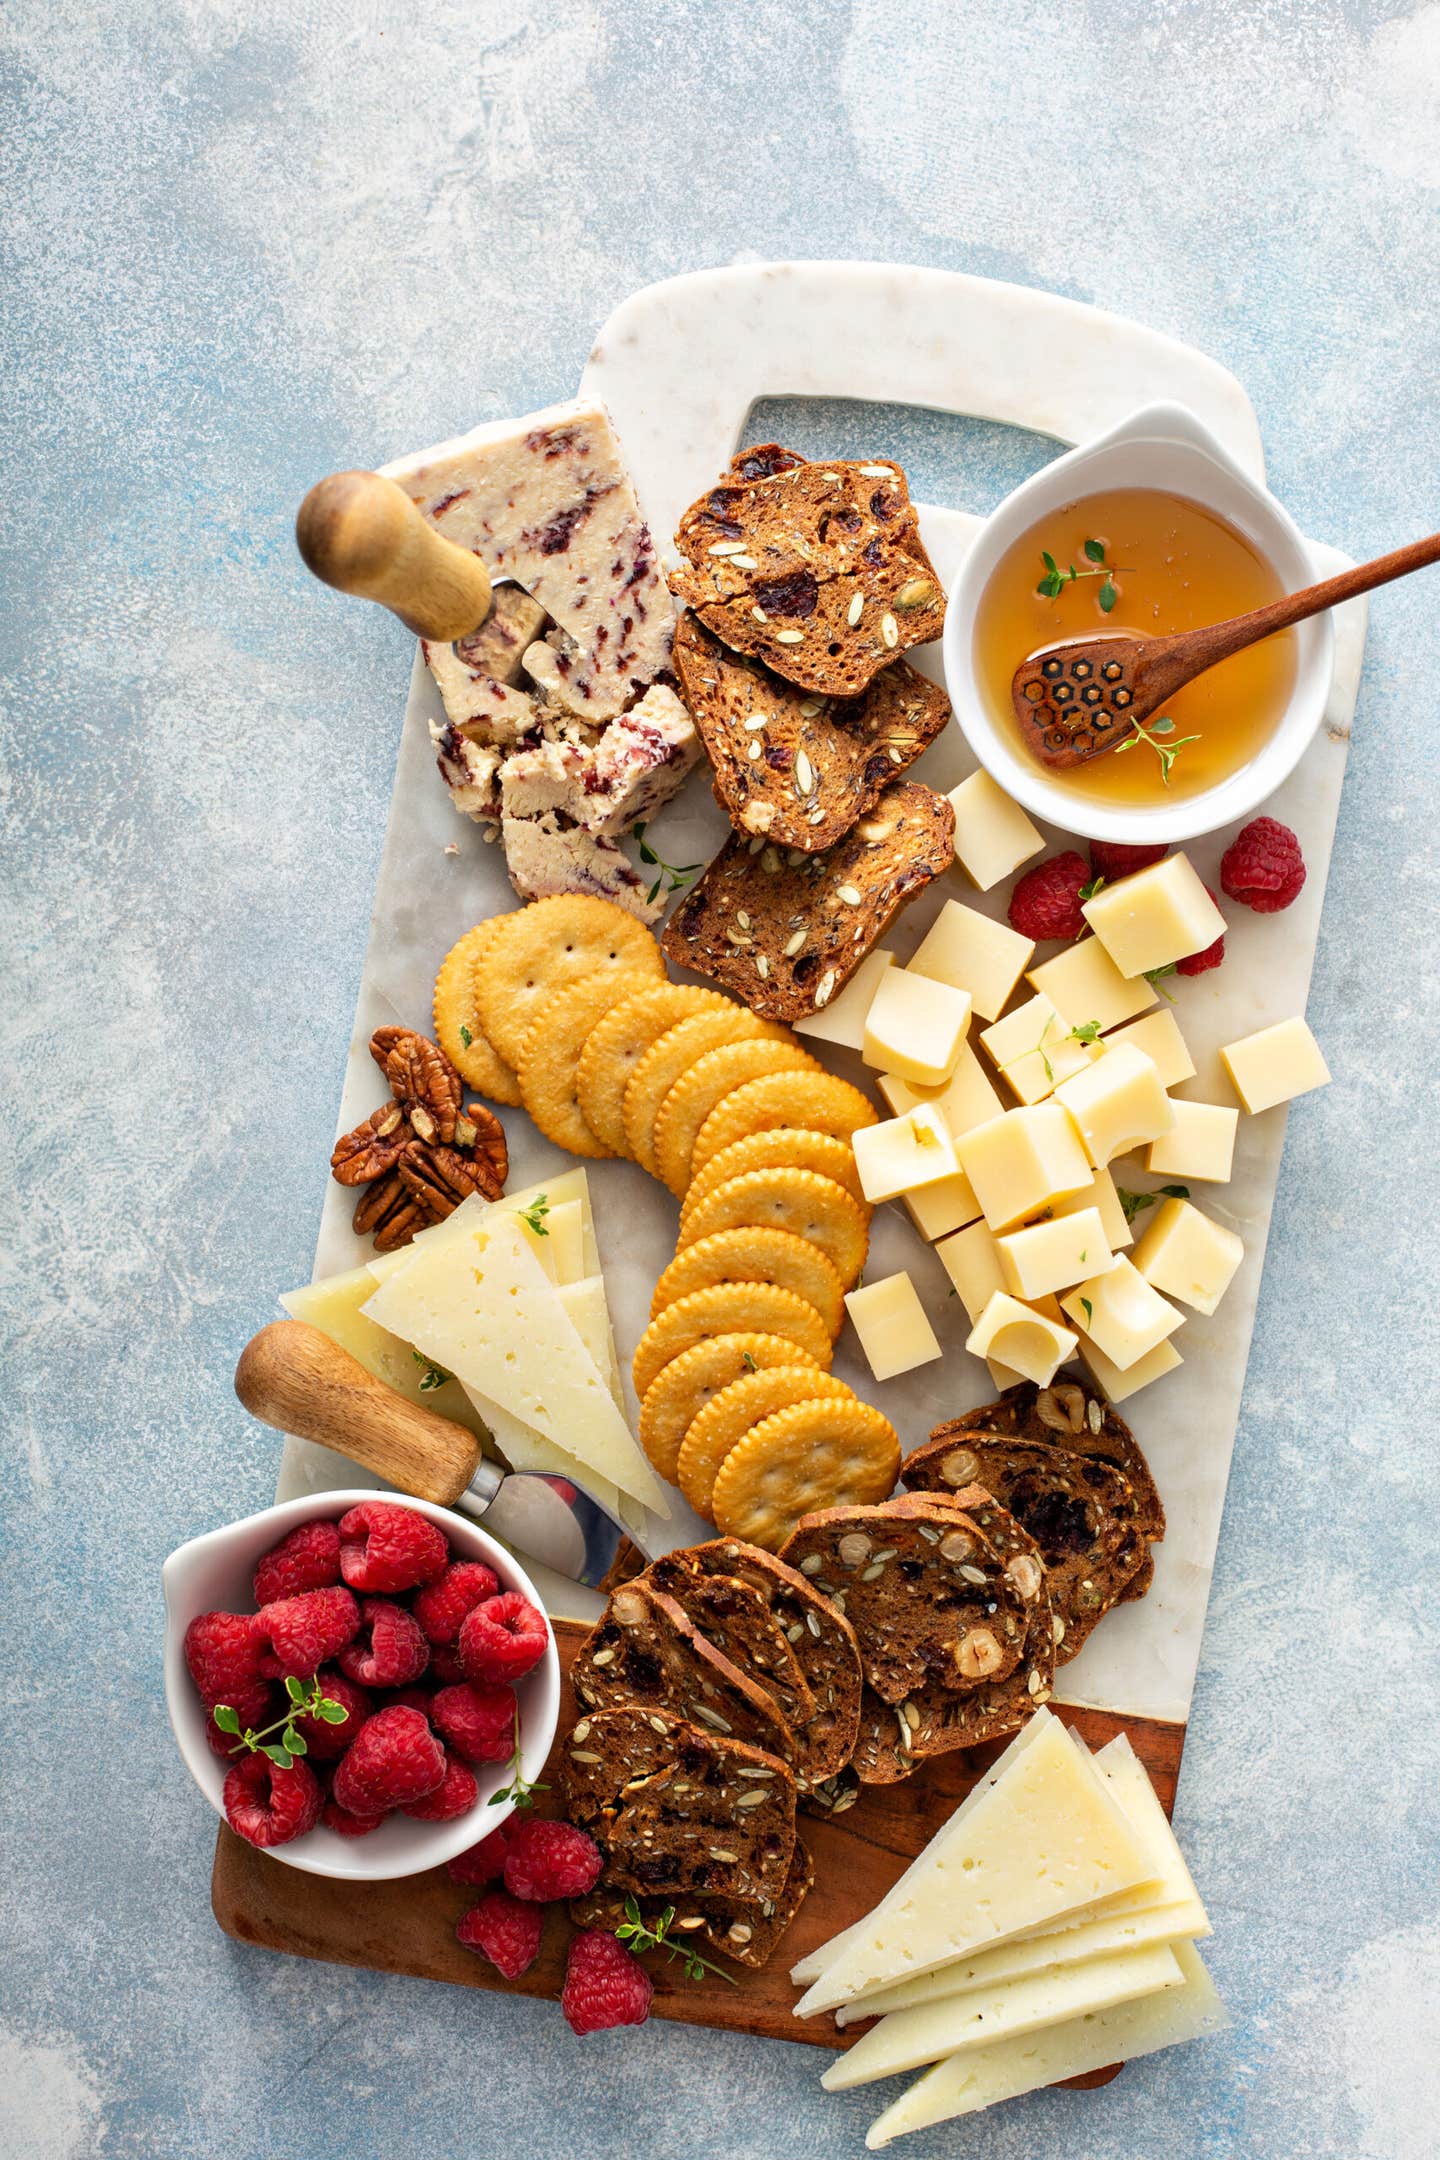
Cheese: You only need one type of cheese to start the party, and a universal cheese like cheddar is always a good choice. If you want a variety, go for a trio of soft, semi-soft and hard cheeses. Soft cheeses include brie, goat cheese, and burrata while Roquefort, Stilton and Gouda are semi-soft. For a harder cheese, try manchego, Gruyère or a nice aged pecorino or Parmesan. To please all palates, you could include cheeses from different milks, such as cow, goat, and sheep. While leaving cheeses whole can be visually pleasing, portioning some of it is helpful for your guests. For example, leave softer cheeses wedged and cut harder cheese into cubes. You can also purchase goat cheese pyramids or mini mozzarella balls for an even more interesting sculptural array. Cheese is best served at room temp, so make sure you pull it from the fridge at least 30 minutes before serving. For more guidance on cheese selection, check out our guide here.
Spreads/Condiments: Mustards and fatty meats are a match made in heaven. Dijon, whole-grain mustard, and honey mustard are ideal mates for your meats. Other tasty options include hummus, tapenade, pesto, pimento cheese or labneh. Almost any dip or spread can benefit from a drizzle of olive oil at the end. Find some of our favorites here.
Crackers: No board is complete without a sturdy, starchy vehicle to get all that deliciousness into your mouth. Crackers are classic and come in a variety of flavors. If you’re only having one option, it’s best to keep it plain so the toppings can really sing. And, depending on what you’ve stocked your board with, pick something sturdy enough to stand up to a brusque spread of brie. Mini pitas, toasted baguette slices, bagel crisps, or toast triangles also work well.
Sweet: We all know how good a sweet-salty combo is. Assorted chutneys, jams or honey can add this balance. Sliced figs, pears or apples and grape clusters provide freshness and color, but dried fruits also work. We love a good dried apricot skewered with some prosciutto.
Briny bits: Olives, pickled vegetables, cornichons, marinated artichokes—any of these will help balance the richness of the meat and cheese.
Crunchies: Nuts are great for filling gaps on a board. They’re also extremely delicious with just about any cheese. Choose what you like, but we’re big fans of oily, salty Marcona almonds. Some crudités, like sliced carrots or radishes, can also add the crunch factor.
Step 4: Build your board.
Start by placing your larger items on the surface. Think logs of meat, larger wedges of cheese, and any bowls or ramekins. Once these anchors are down, you can go in with the “fluff.” Thinly sliced meats, assorted fruit, and fanned-out crackers can fill in the spaces nicely. Another best practice is to keep like-items grouped, so soft cheeses near soft meats and vice versa. Finish it all off with herbs or edible flowers, if you fancy.
As intimidating as charcuterie boards may seem, 90% of the work is just deciding what to put on one. Specialty food stores and butchers are good sourcing spots, but any ol’ deli counter will have options for you—Trader Joe’s and Aldi are your friends here. It doesn’t matter if you’re going for a glorified Lunchable look or stacking your board with expensive cheeses you can’t pronounce; the journey is up to you. Whether you’re serving a big party, small party, or a party of one (yourself), keep these tips in your back pocket and battle that board like a boss.
Keep Reading


Continue to Next Story
