Rose Veal Grillades and Grits
A Cajun-inspired gravy is the key to this richly spiced brunch dish.
- Serves
4–6
- Time
2 hours

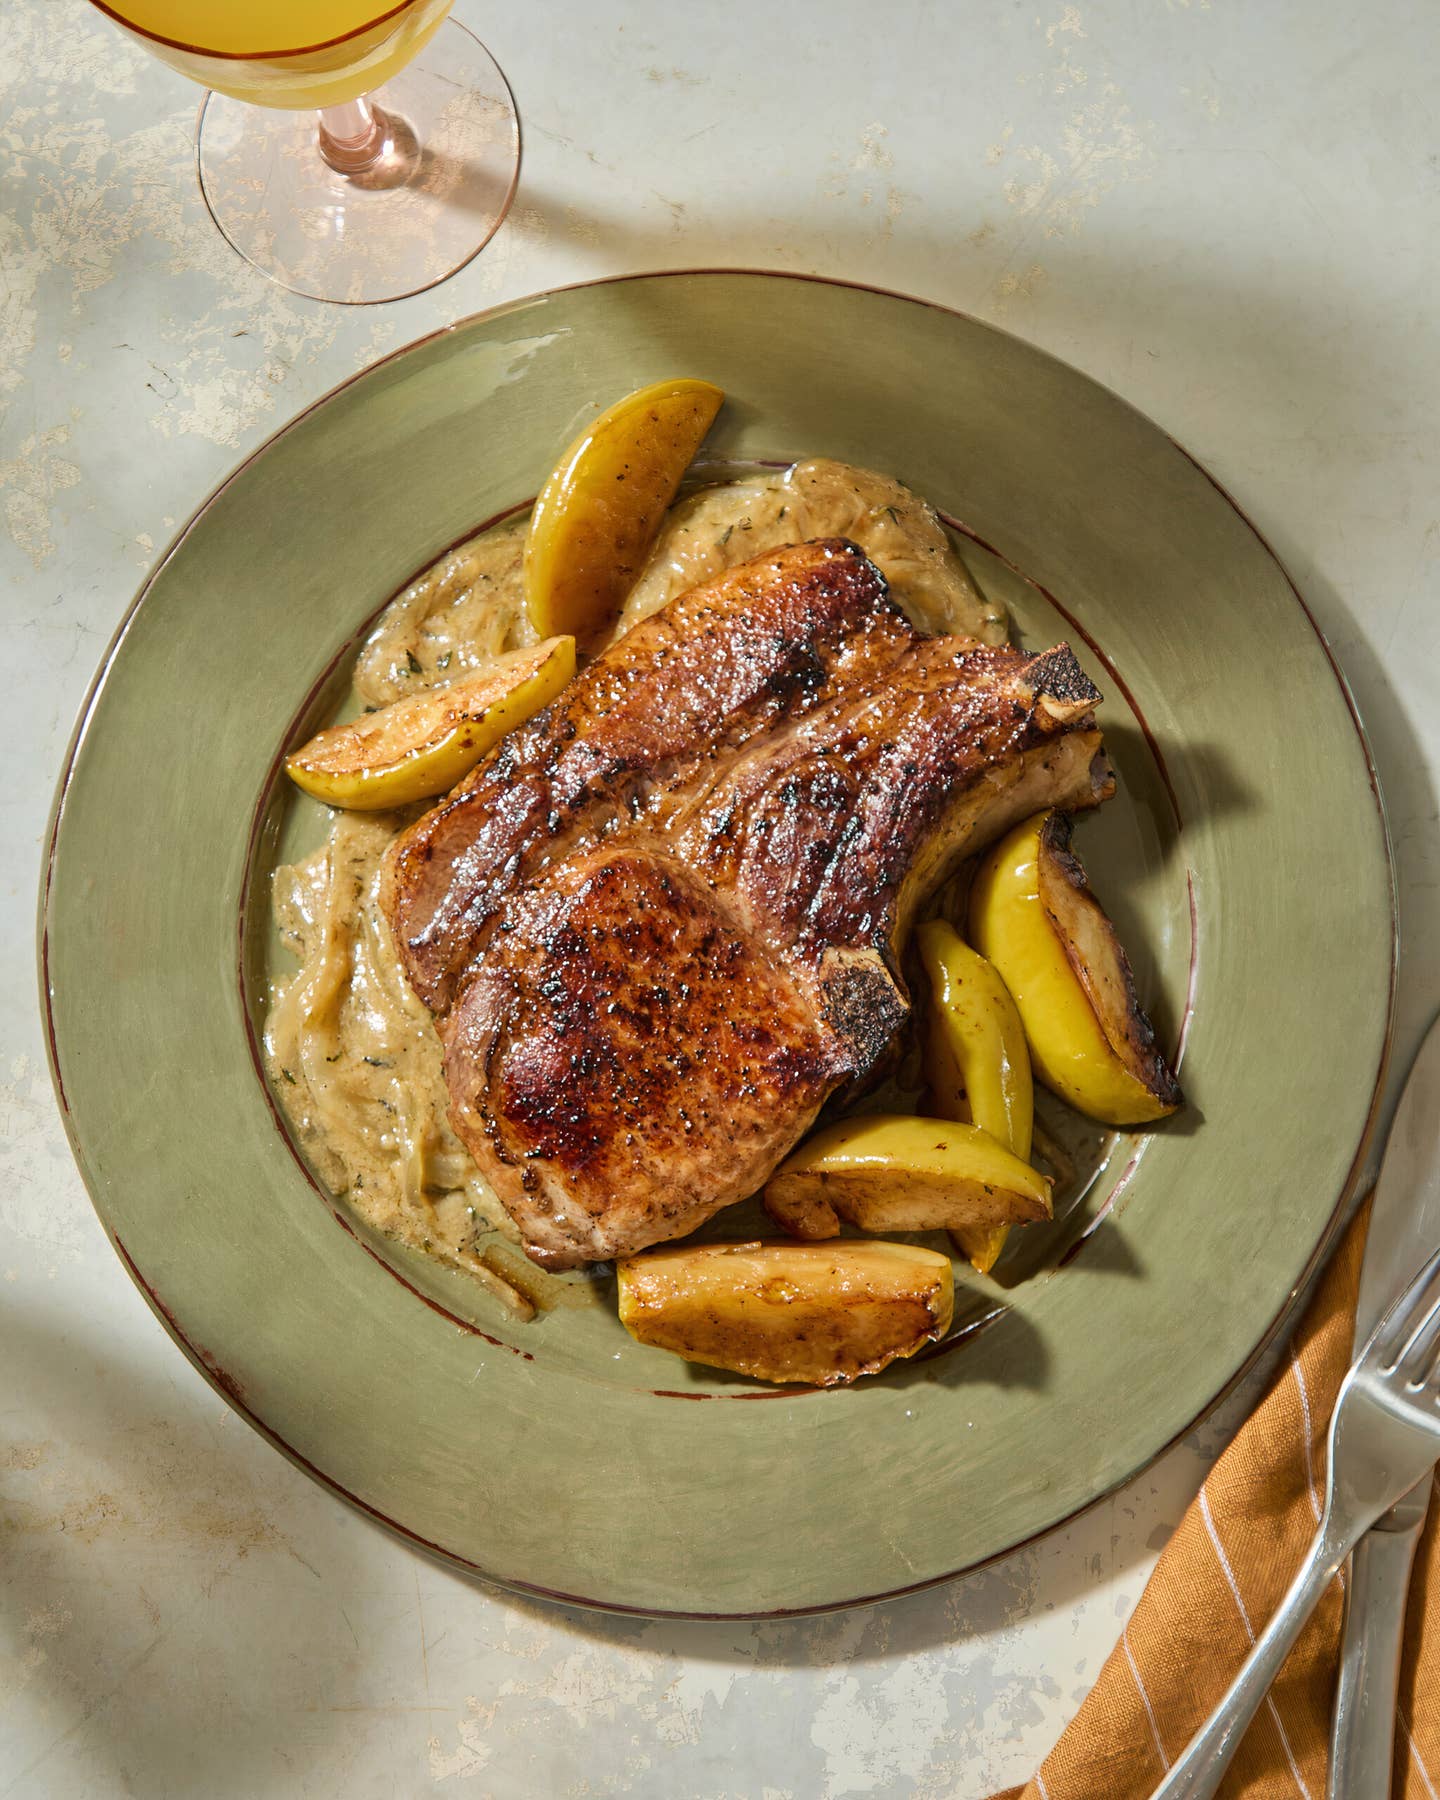
Chef Mitchell Arens first fell in love with grillades and grits at the now-closed Blue Dog Cafe in Lafayette, Louisiana. Throughout his career, Arens, who now oversees several restaurants in Kentucky, has used different proteins, from venison to pork shoulder, to replicate that dish. But according to the chef, none compare to the tender rose veal from Our Home Place Meat in Henry County, Kentucky. The key to great grillades—which, despite the name, are not grilled, but fried or seared—is the gravy, he says. In this case, a roux is cooked to the color of peanut butter before adding the Louisiana trinity of green bell peppers, onions, and celery.
Arens recommends Weisenberger brand stone-ground grits, which can take up to 2 hours to cook. More finely ground grits can cook in 20 minutes; adjust your cook time accordingly.
Unlike traditional veal, which typically comes from young cattle raised in unsanitary feedlots, rose veal (also called rose beef) is always pasture-raised, and can be purchased online from Our Home Place Meat, a cooperative of farmers dedicated to high animal welfare standards.
Featured in “Veal’s Reputation is Complicated—And Worth Reassessing” by Keith Pandolfi.
Ingredients
For the grillades:
- 3–4 lb. rose veal boneless shoulder
- 1 Tbsp. plus 2 tsp. Cajun spice blend, divided
- Kosher salt and freshly ground black pepper
- 3 cups all-purpose flour, divided
- Vegetable oil, for frying
- 2 cups lard (or more vegetable oil)
- 2 cups finely chopped yellow onion
- 1 cup finely chopped celery
- 1 cup finely chopped poblano or green bell pepper
- ½ cup finely chopped garlic cloves
- 1 qt. chicken stock
- 2 cups fire-roasted crushed canned tomatoes, liquid reserved
- Finely chopped scallions, for garnish
For the grits:
- 1 cup old-fashioned grits
- 1 cup heavy cream
- 8 Tbsp. unsalted butter, cut into ½-in. pieces
- Kosher salt and freshly ground black pepper
Instructions
Step 1
Step 2
Step 3
Step 4
Step 5
Step 6
Step 7
Keep Reading
Continue to Next Story
