
The No-Fail, No-Mixer-Required Guide to Flaky, All-Butter Pie Crust
No food processor? No problem.
Rarely have two words and a handful of simple ingredients prompted so much trepidation amongst bakers. Equal parts science and art, pie crust is a task that asks little more of us than guiding flour, fat, and liquid into a cohesive mass by means of a cool touch. Why then, are many pie lovers driven to pre-made crusts or mediocre store bought pies?
From what I’ve gathered from years spent baking pies professionally (and consuming them whenever possible), folks without pie bakers in their lives tend to set the bar differently. Because the idea of strictly-from-scratch pie dough is intimidating, they might be content with commercially made, lackluster pie. But I find that once you’ve tasted a flaky, pure-butter crust, you’ll choose to set those standards higher.
It’s not only casual bakers who fear pie dough. Gifted chefs and talented home cooks are among those who leave the pie baking to their local supermarket or bakery. Coupled with the fact that pie is often the centerpiece of an event, (hello, Thanksgiving and July 4th), the dessert stakes can seem a little too high for anyone hoping to flex their kitchen skills.
Trepidations aside, learning how to make pie crust by hand is a talent well worth your time, and one that becomes far less daunting with a little practice. Here’s how to do it:
Classic All-Butter Pie Dough
Step 1:
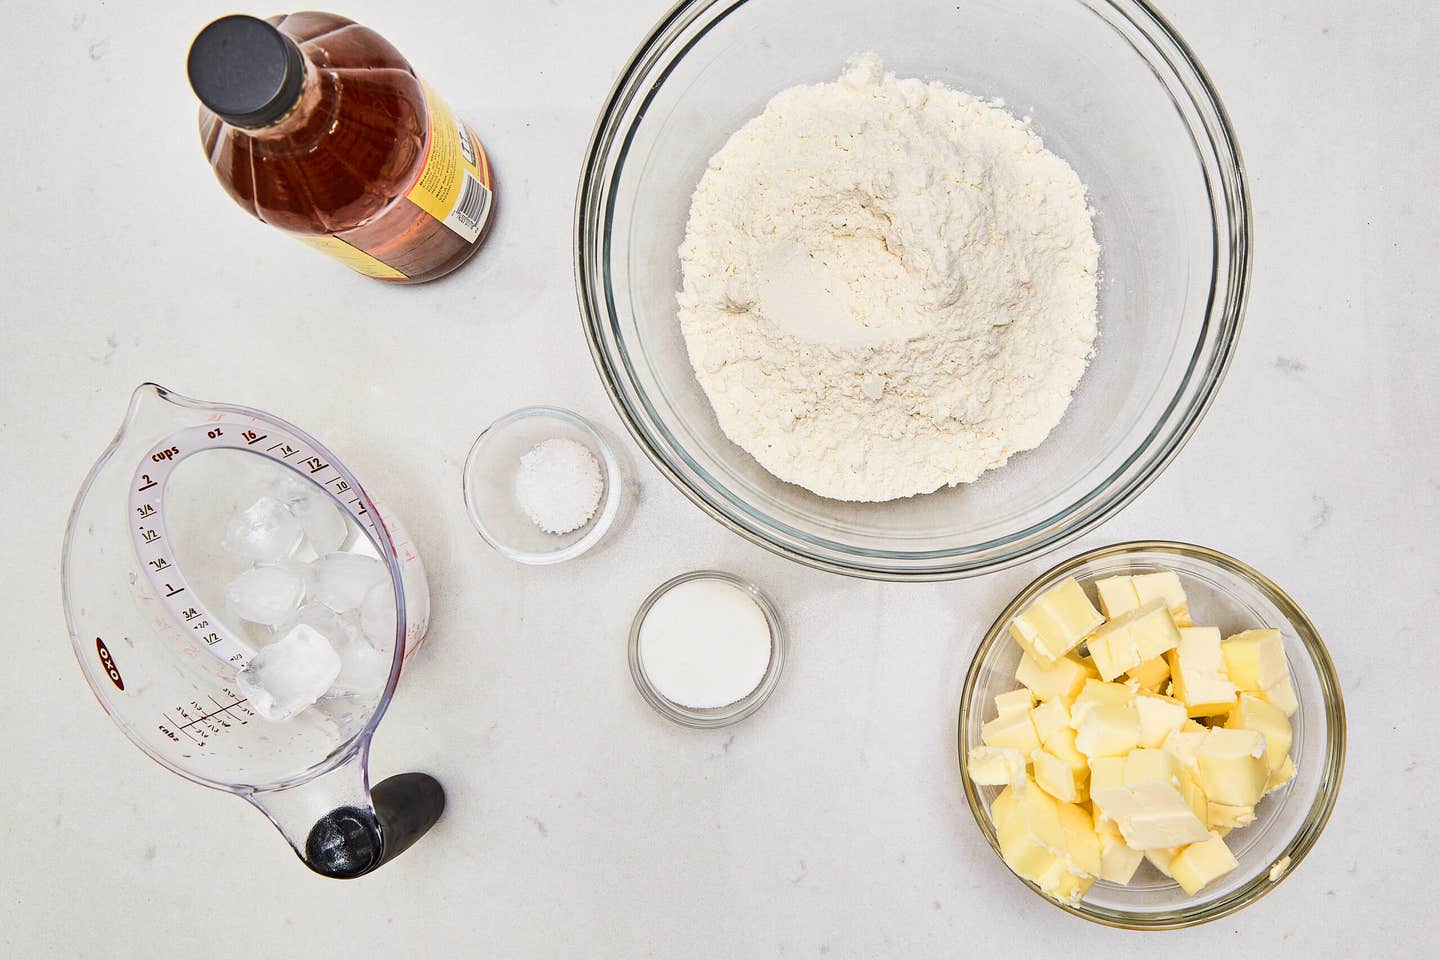

First, make a little bit of room in your fridge—you’ll need space for a 2-cup liquid measuring cup and for the assembled dough to rest. Then, measure out your ingredients—in a large bowl, whisk together 2½ cups of all-purpose flour, 1 tablespoon of sugar, and 1 teaspoon of kosher salt.
Step 2:
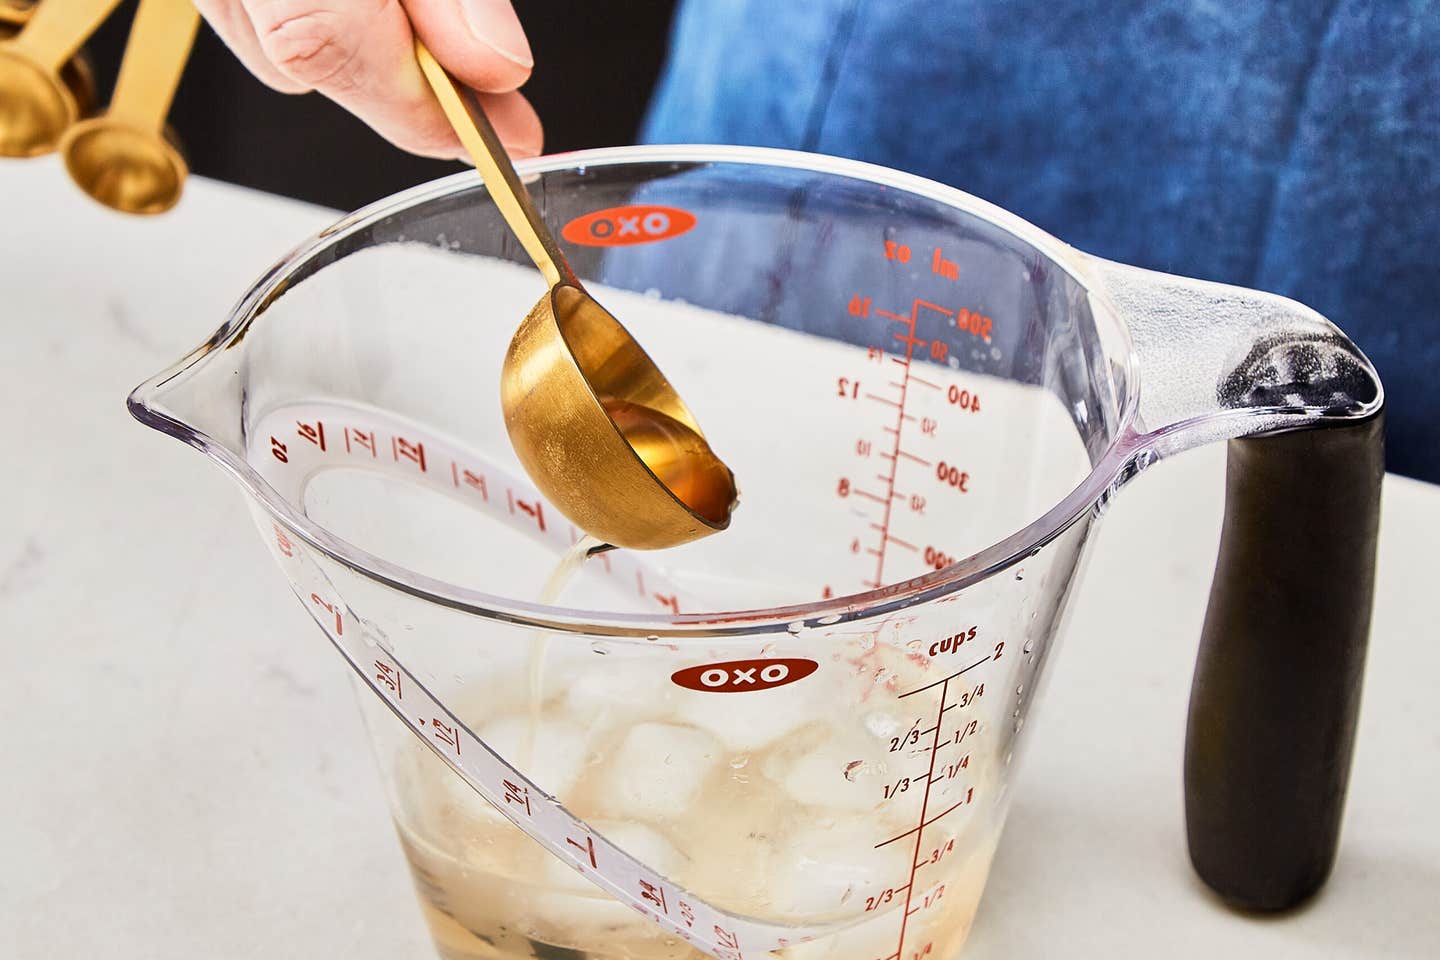

To a 2-cup liquid measuring cup add ½ cup of ice water and 1 tablespoon of apple cider vinegar, then transfer to the fridge.
Step 3:
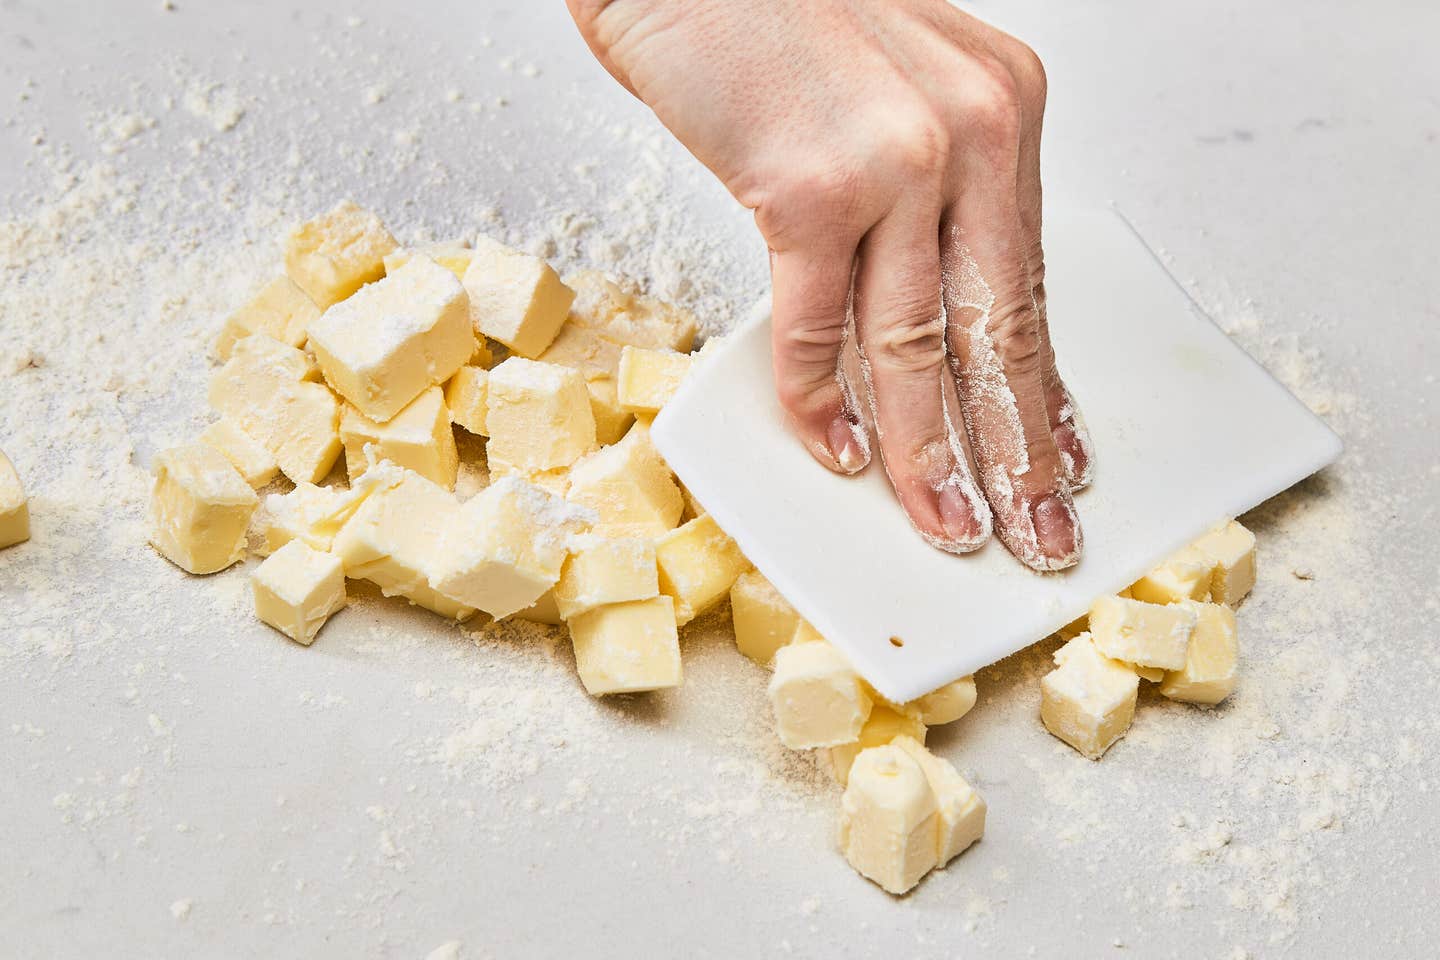

Cut two 4-ounce sticks of very cold unsalted (preferably European-style) butter into ½-inch pieces. Lightly flour a clean work surface, then, using the side of a floured, flexible bowl scraper, lightly flatten the butter pieces. This extra step gives you a jump-start incorporating the cold fat into the flour. Scoop up the flattened butter pieces and add them to the flour mixture.
Step 4:
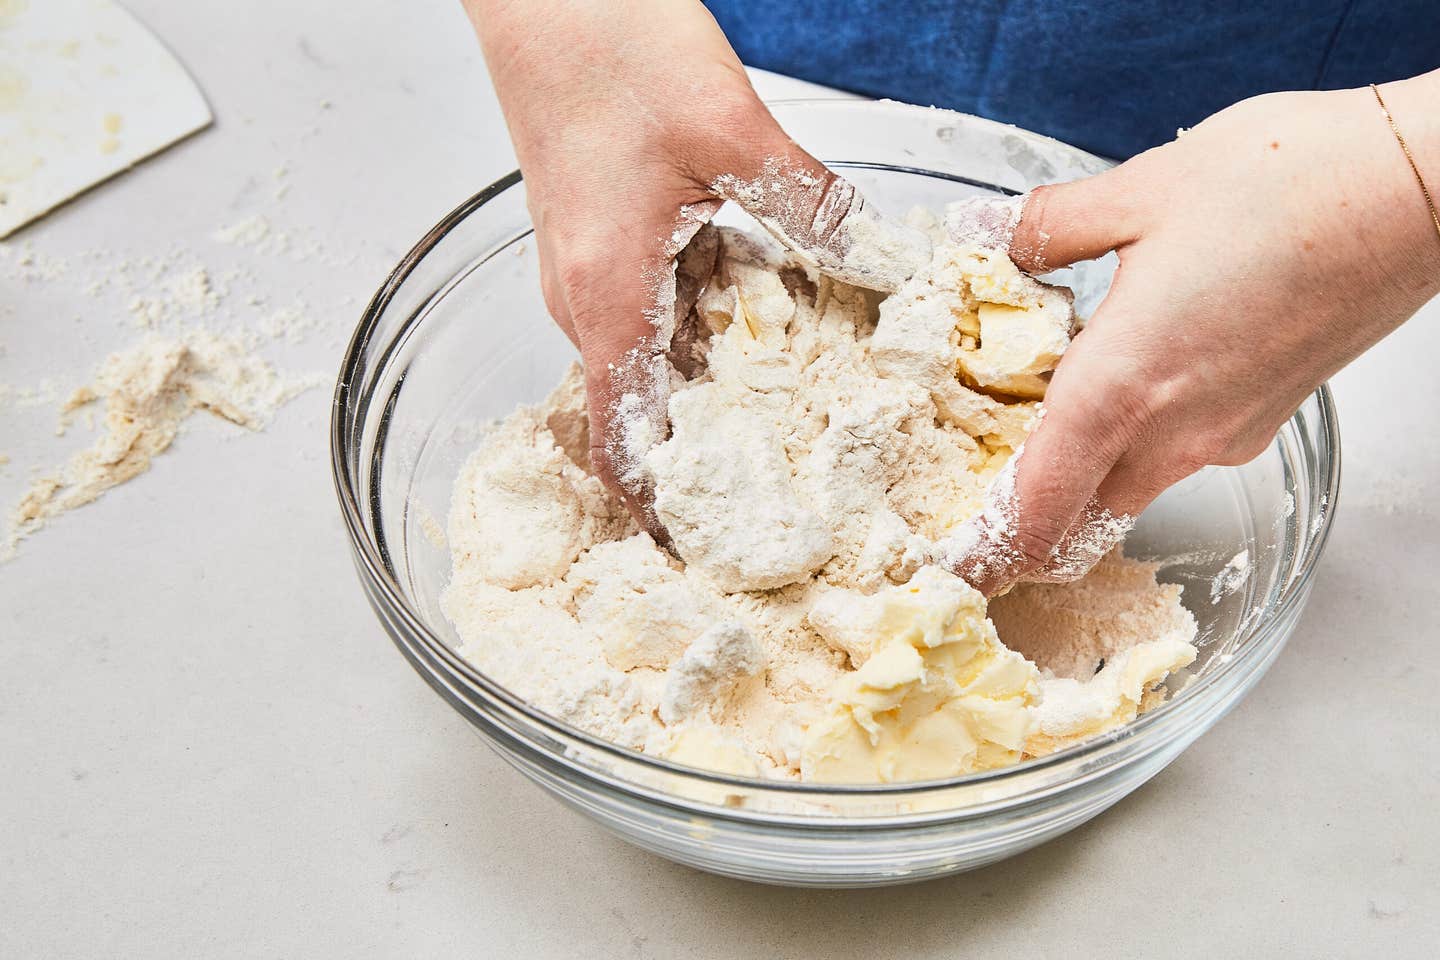

Using your fingertips to incorporate, gently squeeze and toss the butter into the flour mixture until the butter has mostly broken down, with some pea-sized and some larger pieces remaining.
Step 5:
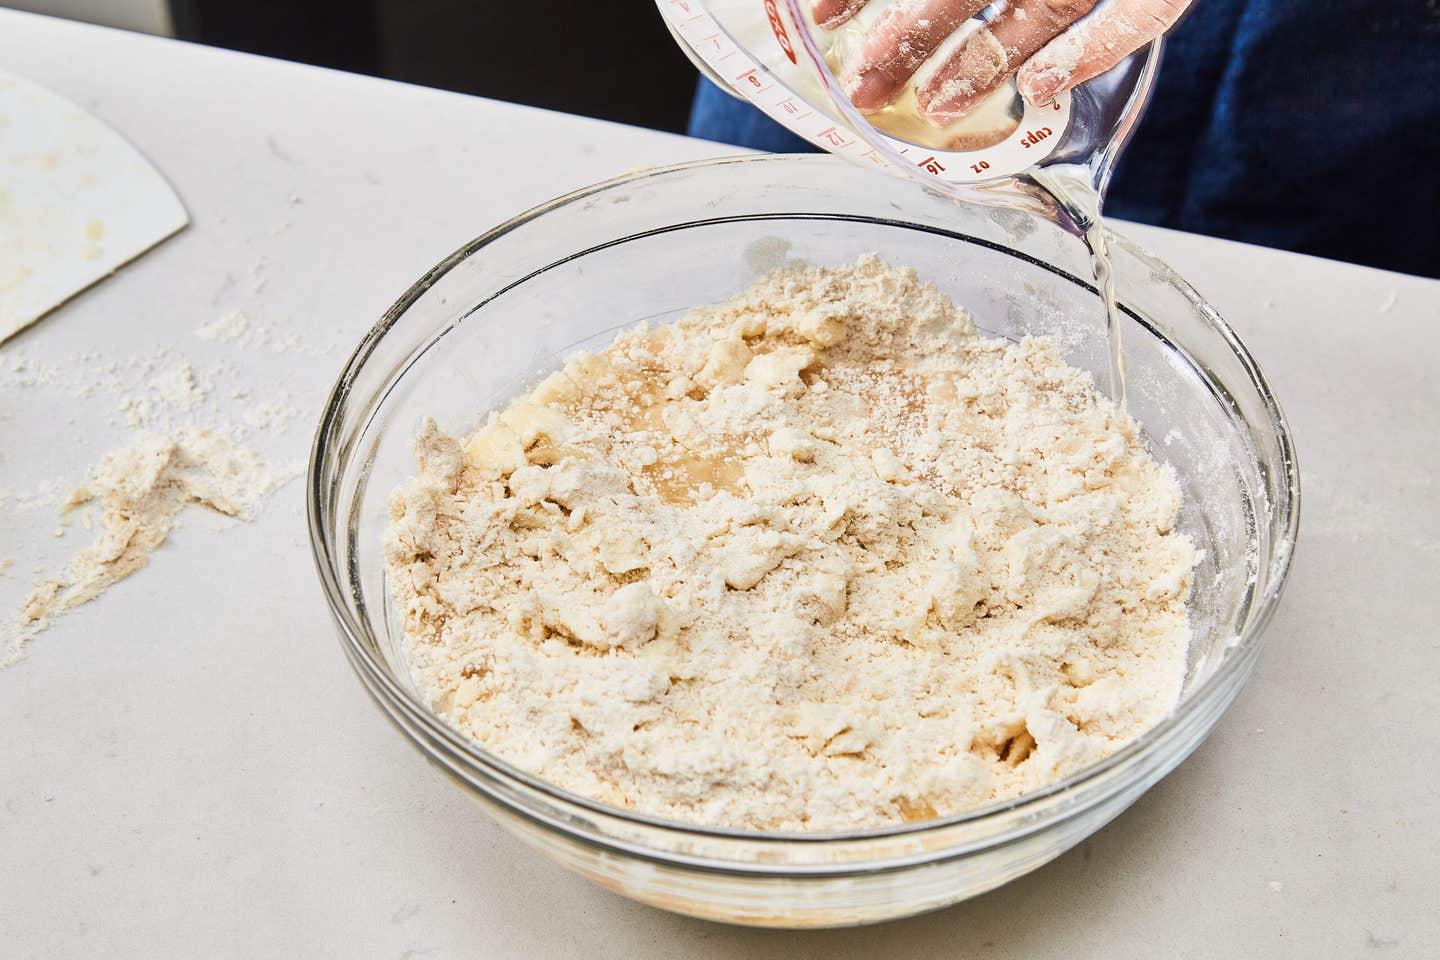

Retrieve the water-vinegar mixture from the fridge and pour half around the edge of the bowl.
Step 6:
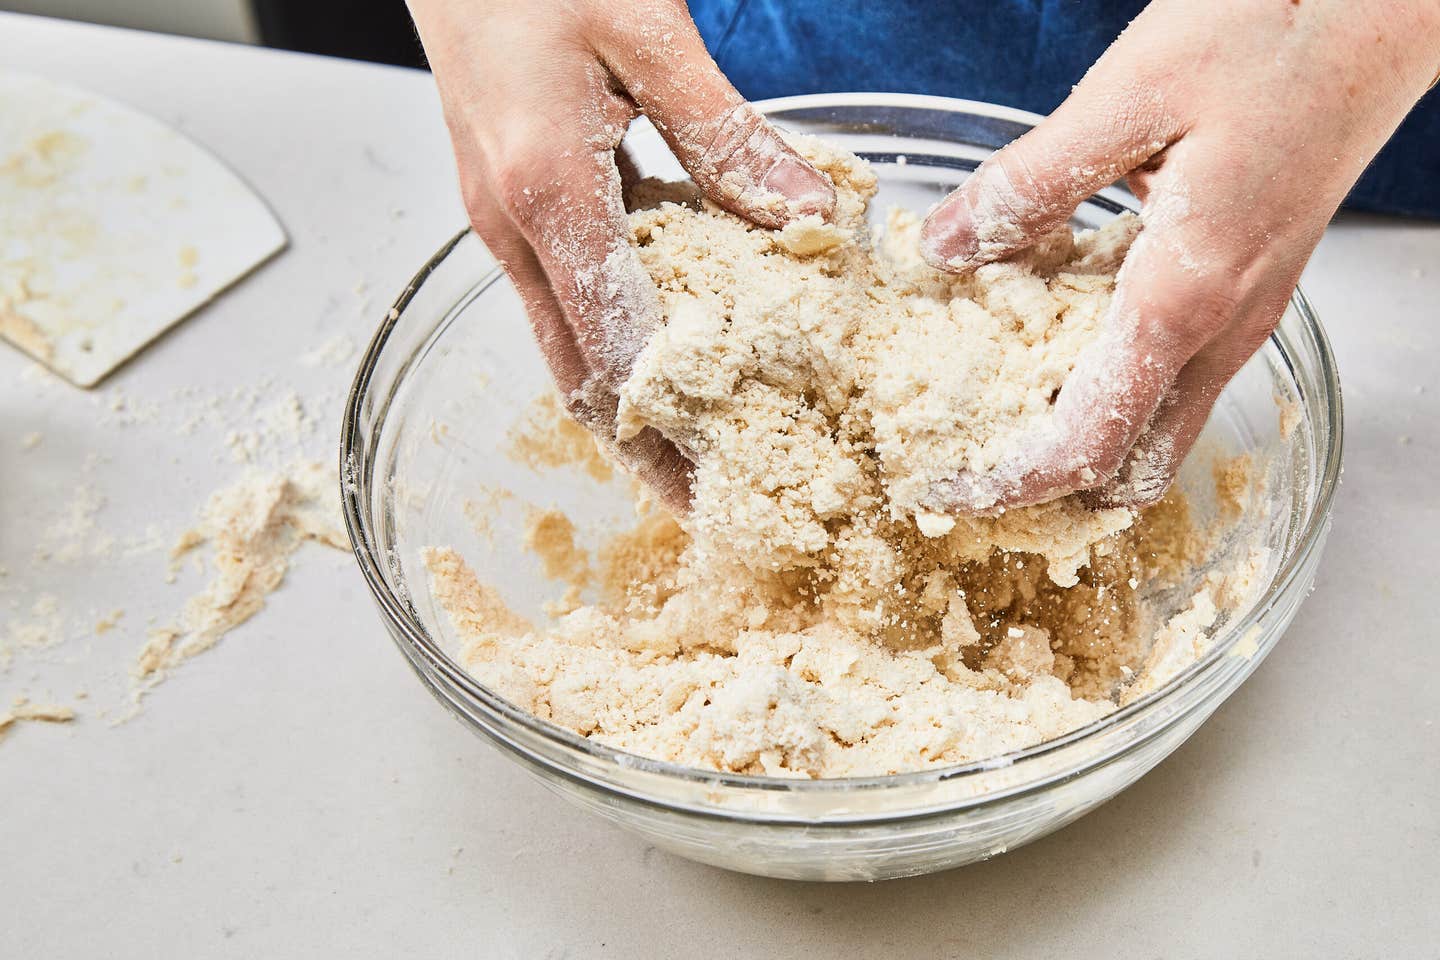

Incorporate the liquid into the dry ingredients by tossing the mixture with your fingers and palms facing upwards. The idea is to think of this process as “tossing a salad” and not “stirring a dough.” Rotating the bowl as you go allows you to evenly add water to the mix.
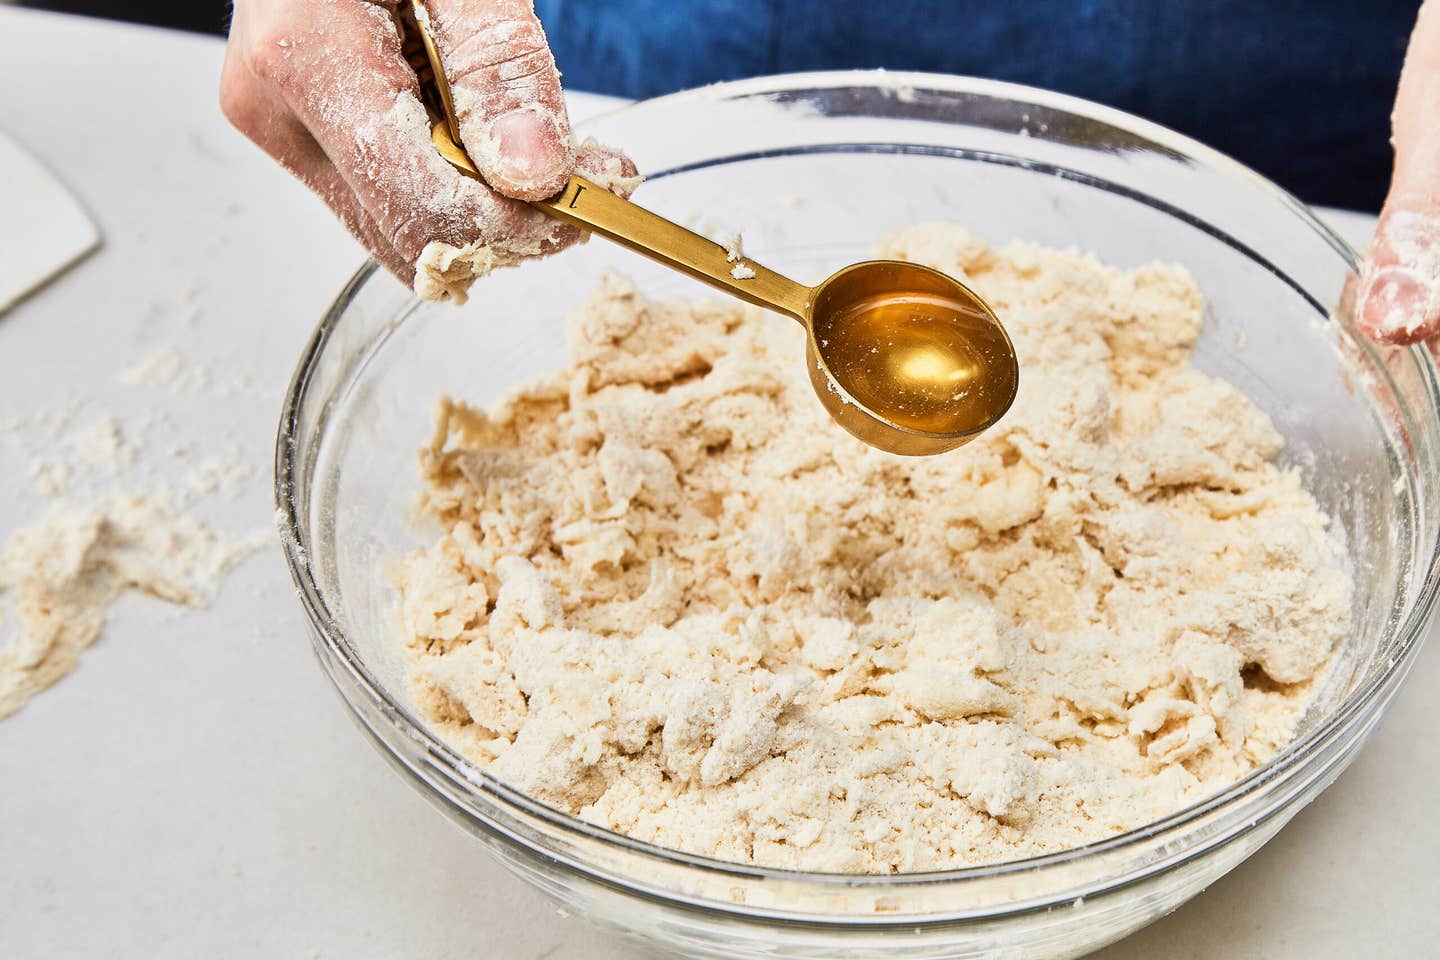

A tablespoon at a time, add almost all of the remaining water-vinegar mixture, and continue tossing, just until the dough becomes slightly shaggy but not overly moist.
Step 7:
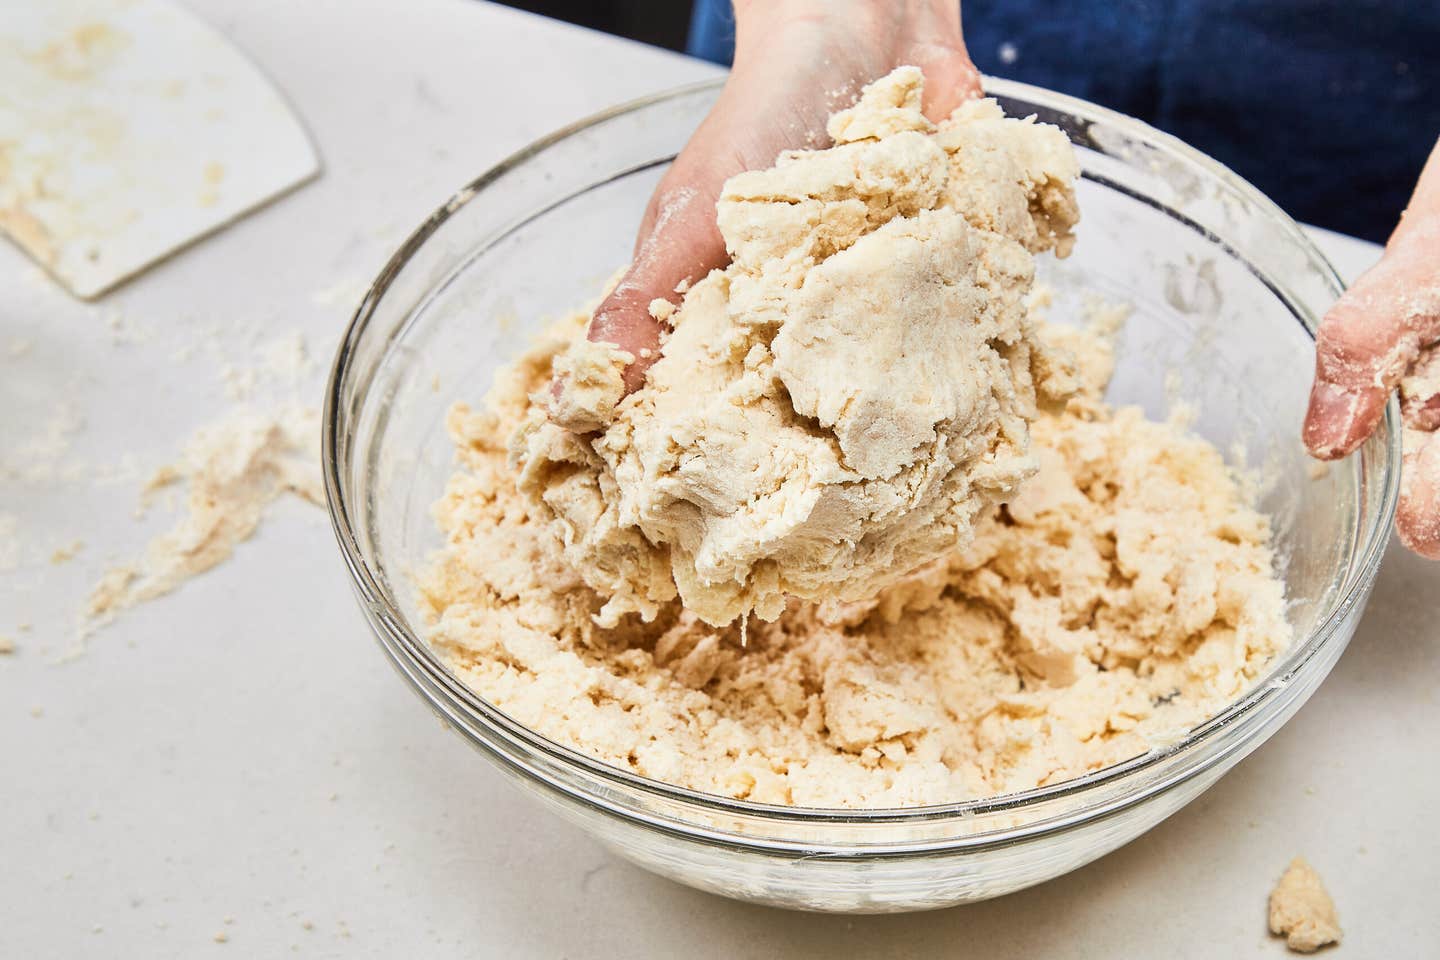

If the dough is too dry, add an additional teaspoon or two of the remaining liquid, tossing gently, just until the dough keeps its shape and holds together in a solid mass when gently squeezed. (In total, you will only need ½ cup of liquid—possibly less depending upon several factors: weather, humidity, heat of your kitchen, and the type of flour you are using.)
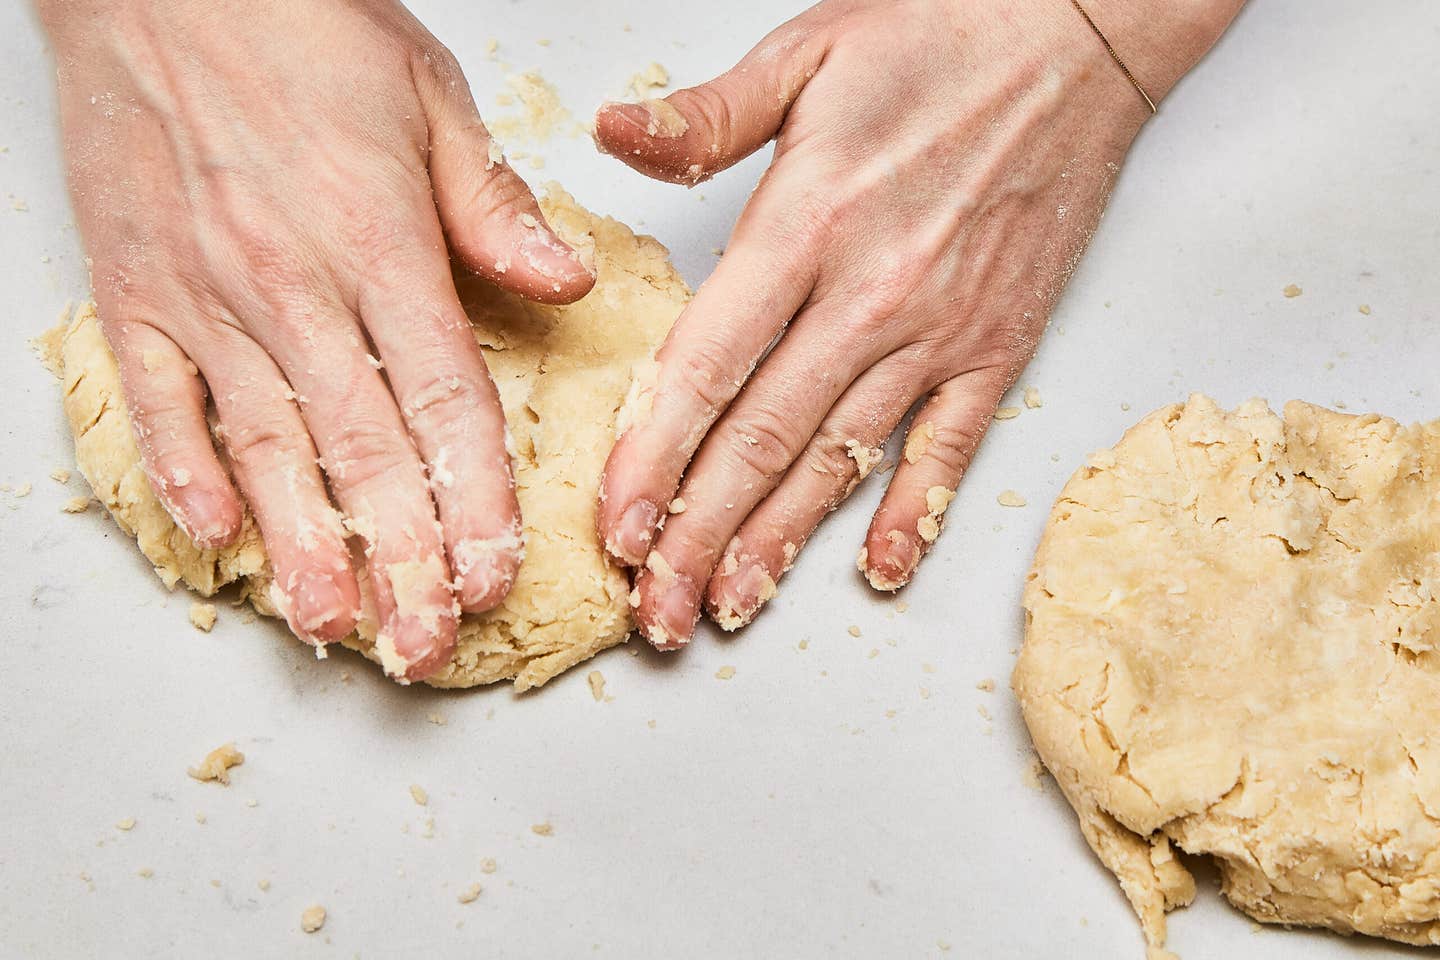
Step 8:
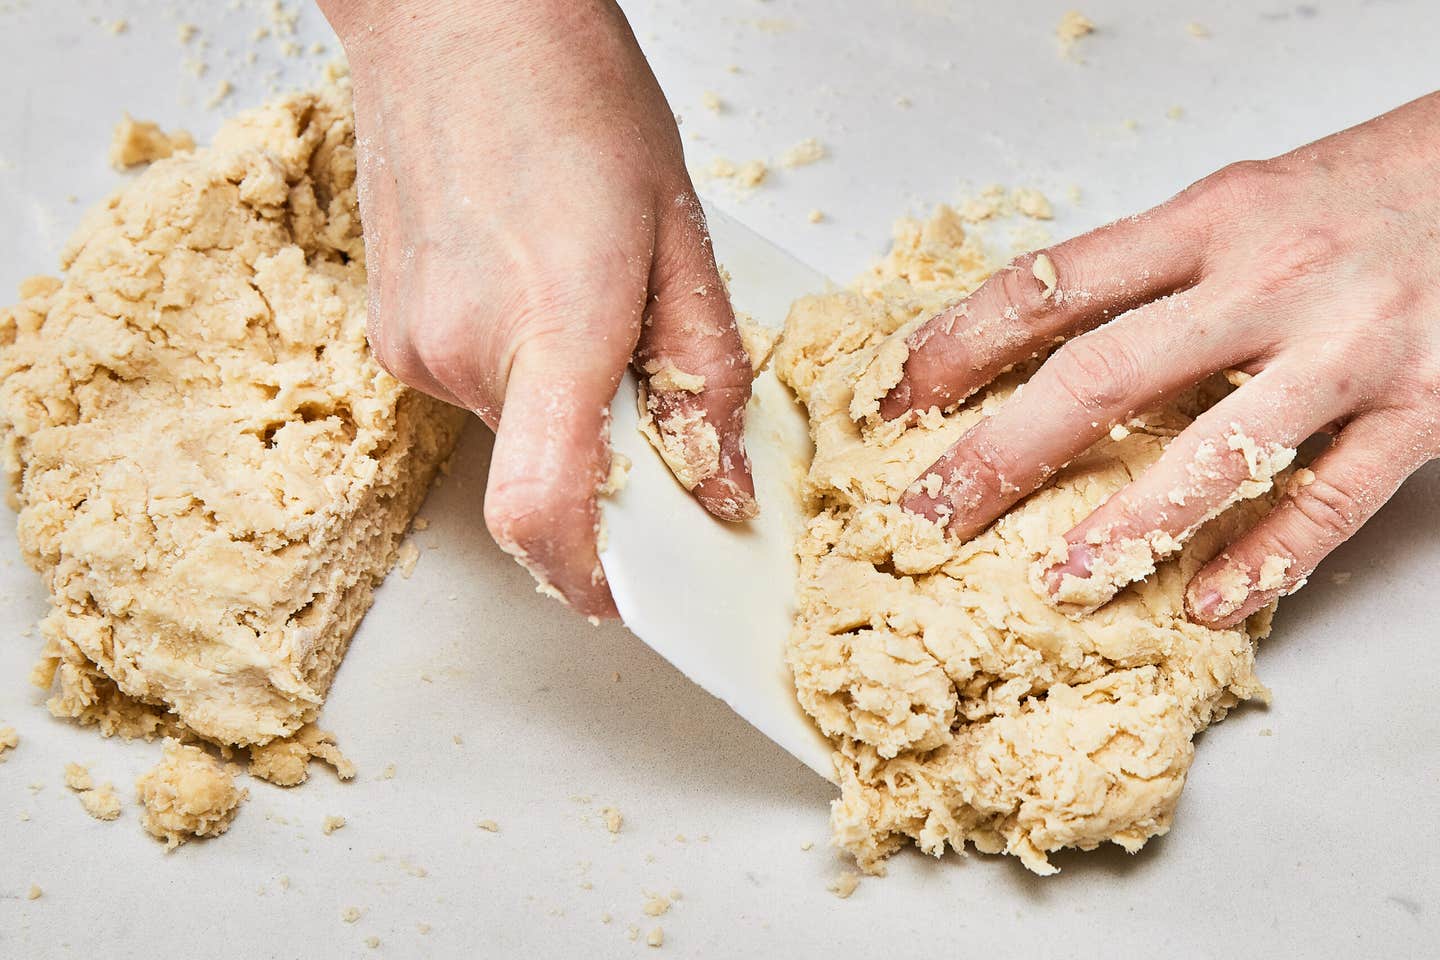

Turn the dough out onto a clean work surface, divide it in half, then gently press each half into an even ½-inch disk.
Step 9:

Wrap each disk tightly in plastic wrap and refrigerate for at least 1 hour and up to 3 days.
Step 10:
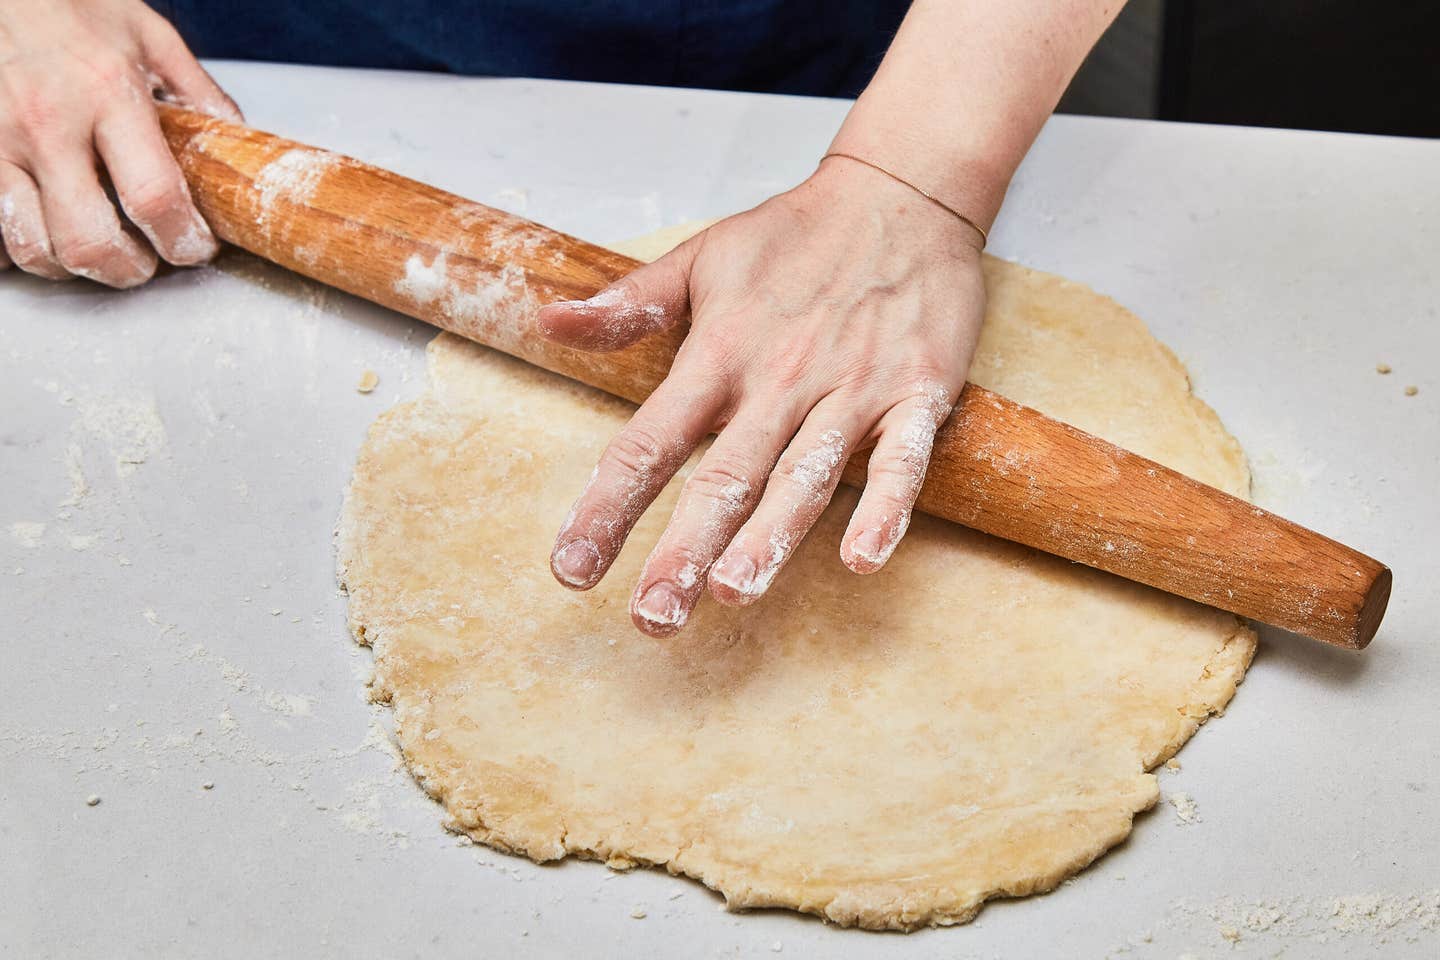

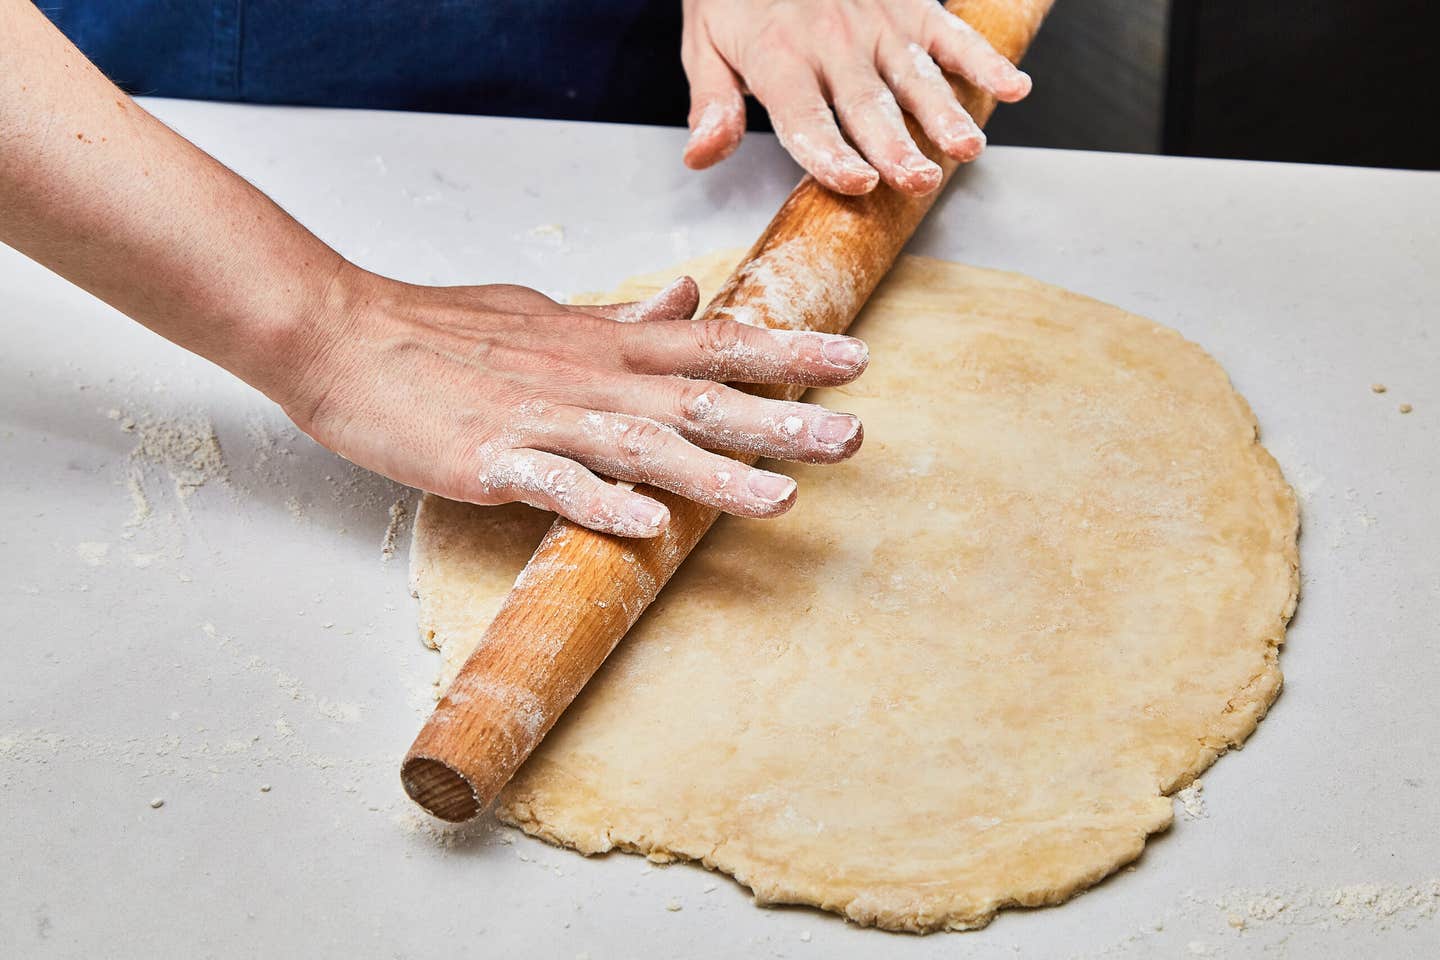
Lightly flour a clean work surface and a rolling pin. Retrieve and unwrap one disk of dough. (If it is ice cold, let it come to room temperature for about 10 minutes.) Think of the circle of dough as a clock face; place your rolling pin horizontally (between “9 and 3”) and roll upwards, then place the pin back in the middle and roll downwards. Lift the dough and rotate it a quarter turn and repeat the process. The idea is not to overly work the dough or stretch it. Use a firm yet gentle touch, taking care not to roll and reroll over the same area. Turning the dough a quarter turn after each up and down roll gives you an evenly rolled circle of dough. Keeping the pin towards the center of the dough gives you greater control over the thickness. You’re looking to roll the dough out to an even, 13-inch circle, about ⅛-inch thick.
Step 11:
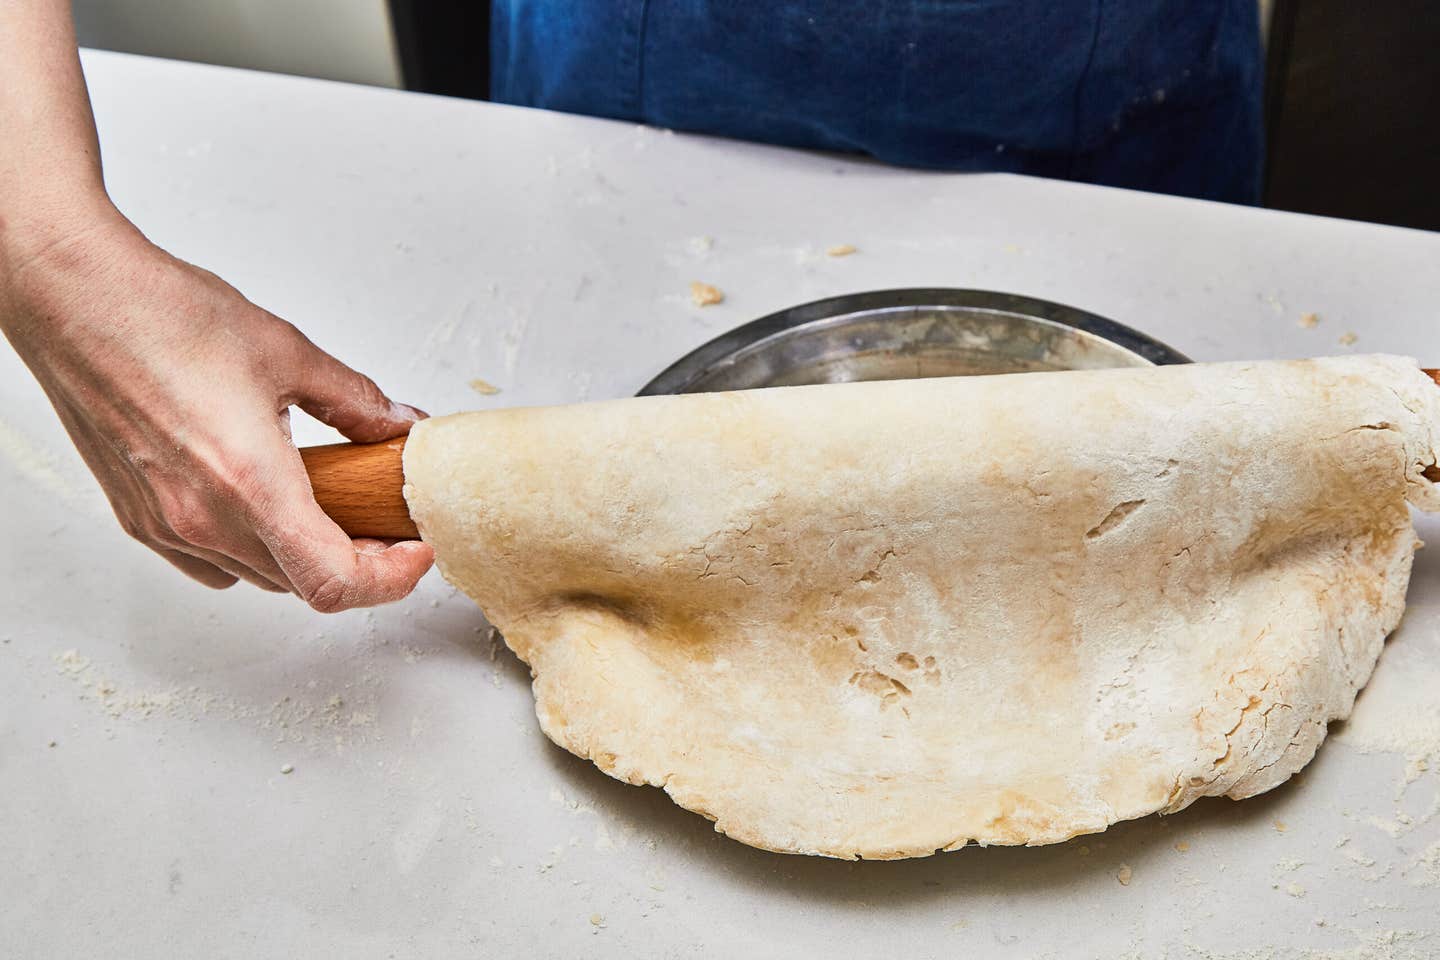

Lightly flour the rolling pin once more, then place it on the far left edge of the dough circle and carefully roll the dough around the pin, gently lifting it away from the surface in one smooth sheet. Place the dough-wrapped rolling pin over the far right edge of your pie plate and unroll the dough, centering it over the plate.
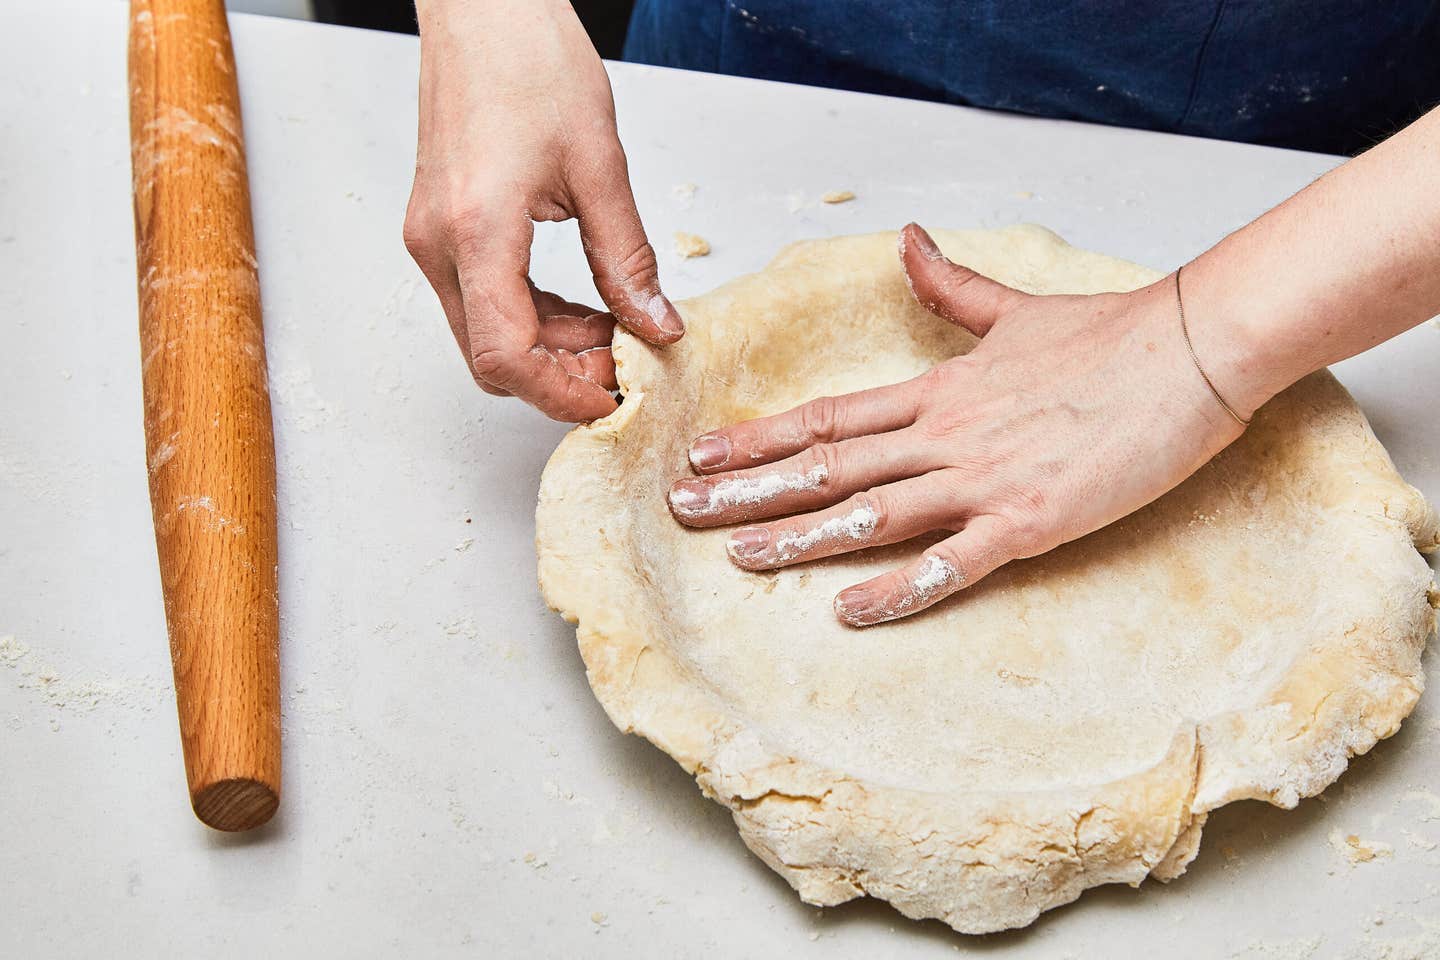

Using your fingers (dust them with flour as needed), ease—don’t stretch—the dough along the bottom and the sides of the pie plate. Using a paring knife, trim the edges.
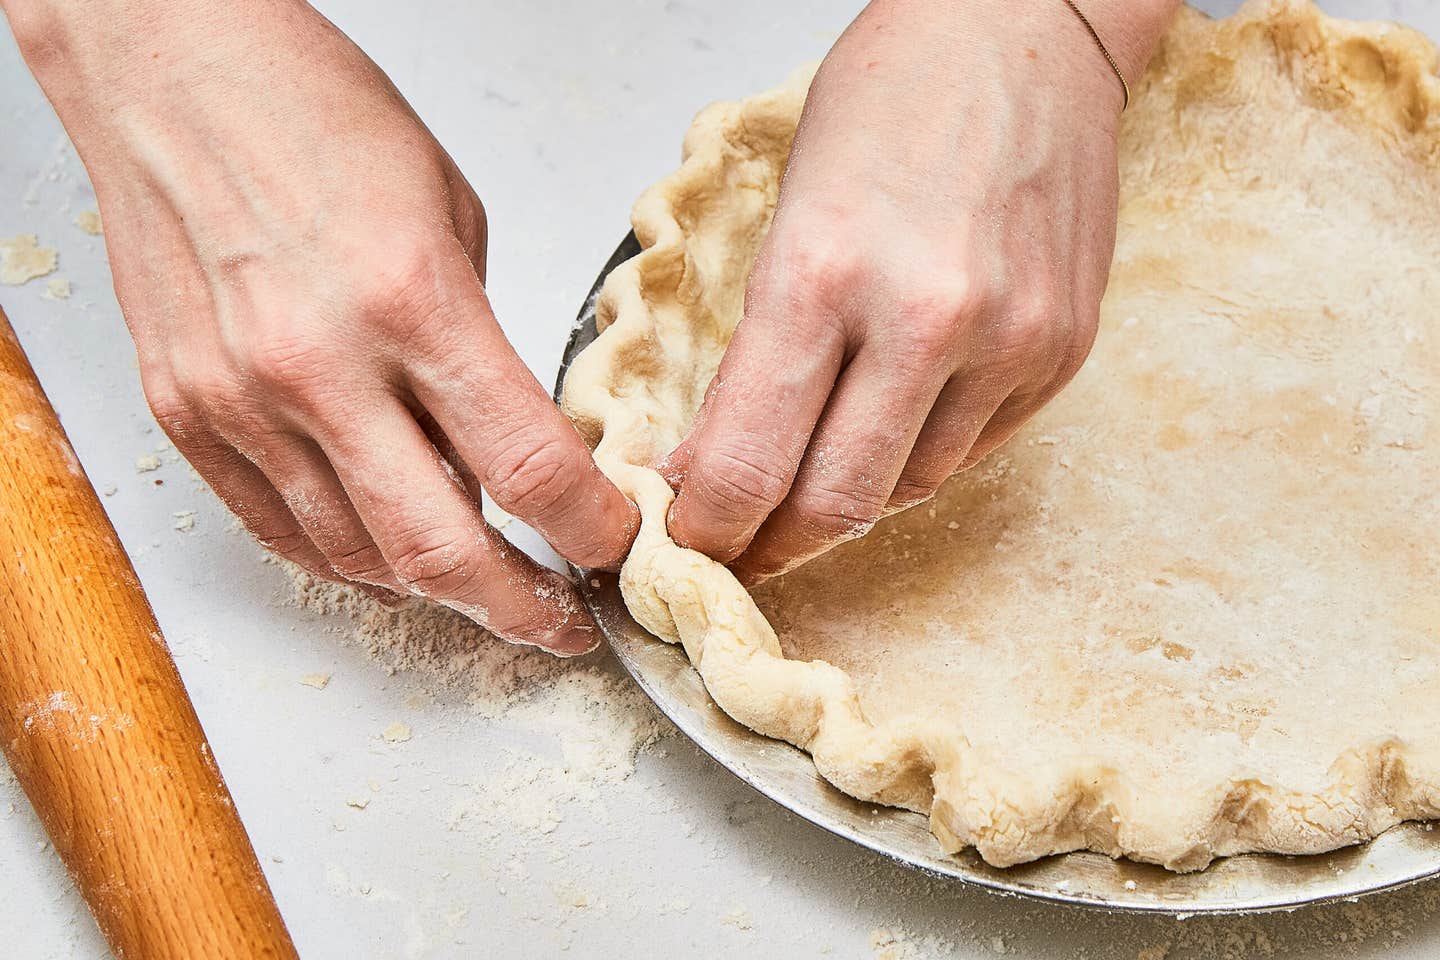

If you are making a single-crust pie, you can fold and crimp the edges at this point; if adding a top crust or lattice, however, save that step for when the top crust is in place. Transfer the pie plate to a baking sheet, cover loosely with plastic wrap, and refrigerate until firm.
Step 12:

If desired, roll out the top crust, then slide the circle of dough onto a second, parchment-paper-lined baking sheet. Cover with plastic wrap, and refrigerate while you make the filling.
Extra Pie Dough Wisdom
•Don’t obsess over perfection; instead, find the joy in the process.
•Pay attention to temperature at every stage; the temperature of the kitchen, of the dough, of your hands, and of your ingredients. Don’t be afraid of refrigerating the dough throughout the process or even dunking your fingers into a bowl of ice water if your hands tend to run hot.
•Remember, the better the butter, the better the flavor. Unsalted, European-style butter has a lower water content than conventional American butter, and so delivers a far more memorable pie dough.
•Plan ahead because good pie takes time. One of the critical pieces contributing to a good pie crust is allowing the dough to simply rest in the refrigerator; this step is non-negotiable, so don’t be tempted to rush it. When water and flour combine, gluten naturally forms and can lead to a tough crust; adding vinegar to the water helps to curb this reaction. Additionally, as the pie dough rests in the fridge, that gluten relaxes.
•When you're learning how to make pie crust by hand, don’t be afraid to practice—and practice again.
Alternative Method: How To Make Pie Crust In a Food Processor
The food processor method is less desirable, but if it encourages you to make your own pie dough, go ahead and use this time saver with one caveat; once the butter has been cut into the flour mixture, transfer the mixture to a large, chilled bowl and add the ice water by hand. Adding the liquid to the food processor increases the risk of over-mixing and toughening the dough. Unlike pushing a button and hoping for the best, when you add the water by hand, you are in control and can get a true feel of when the dough is sufficiently hydrated.
Recipes

Keep Reading

")


")


Continue to Next Story
