How to Make Traditional Thai Sticky Rice
Master the technique behind a perfect batch of these chewy grains
As northern Thai food becomes increasingly accessible in the U.S.—be it at restaurants around the country or in our homes by way of cookbooks—there's one staple that stands out for its versatility: sticky rice. Many dishes in the northern Thai repertoire, from larbs to nam phriks, aren't complete without the chewy, eat-with-your-hands starch. Sticky rice also lends itself well to sweet dishes, such as the popular Thai dessert kao niow mamuang, which calls for cooking the grains with coconut milk and serving with fresh mangoes.
Sticky rice isn't nearly as ubiquitous in central and southern Thailand, where the heavy Chinese influence means you're more likely to find jasmine rice served alongside the region's curries and saucier dishes. However, in northern Thailand, as well as neighboring Laos and Myanmar, sticky rice is an essential component of the cuisine. Also known as sweet rice or glutinous rice, the starch doesn't actually contain sugar or gluten—"glutinous" refers to the gluey, almost gelatinous texture of the grains when cooked. Thai sticky rice consists of short white grains and should not be confused with short-grain Japanese rice, or sushi rice, which also becomes somewhat sticky when cooked.
Because of its starch composition—unlike long-grain varieties of rice, it contains a high amount of amylopectin and no amylose—sticky rice cannot be cooked in boiling water without dissolving into mush. Instead, the grains must be soaked in cold water for several hours until softened, then cooked over hot steam. A steamer pot made specifically for this purpose works best—it's typically comprised of a conical bamboo basket (huat), which holds the rice, and a potbellied aluminum kettle (maw nueng), which contains the simmering water. Here, a step-by-step guide to making successful sticky rice every time.
Invest in the Right Gear
While you can set up a makeshift Thai steamer pot in a pinch (you'll need a fine-mesh strainer that fits completely inside of a deep, wide pot), it can't compete with the real thing in terms of volume and ease. The basket and kettle that make up the traditional steamer pot do take up a fair amount of counter space, but they are inexpensive and extremely lightweight. Take note that the maw nueng is nearly always made of aluminum, so if you have an induction stove, be sure to pick up one of those handy converter plates, or use a little butane-fired camp stove. The huat and maw nueng are also available separately, so when the former inevitably wears out, it can easily be replaced.
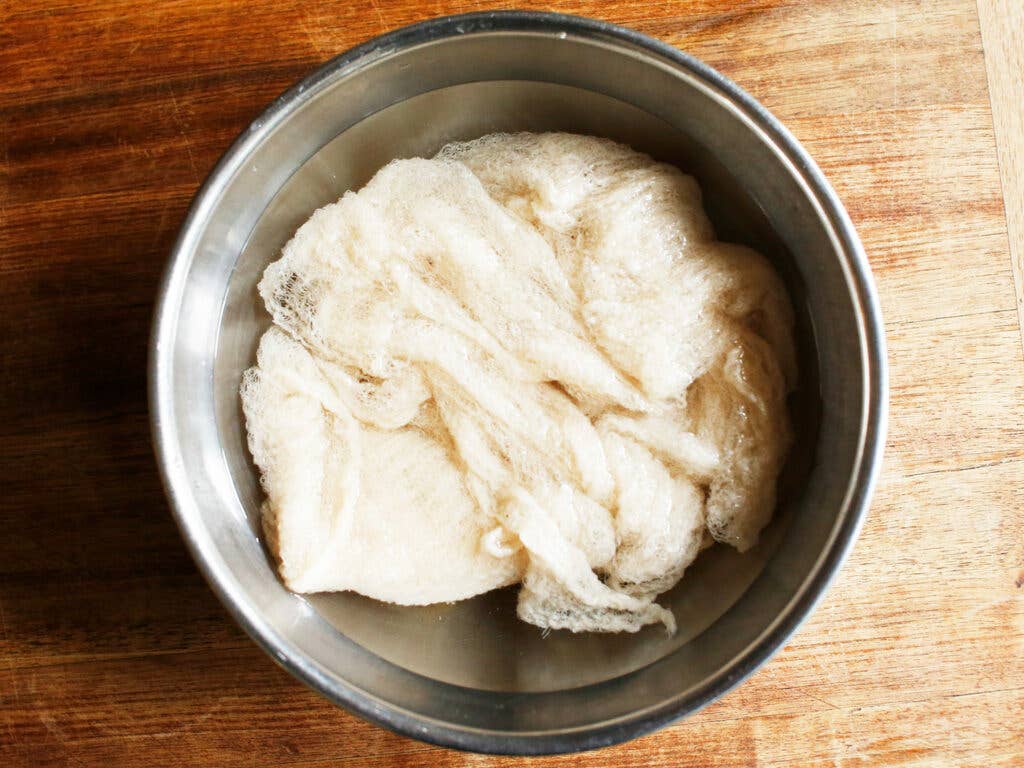
Plan Ahead
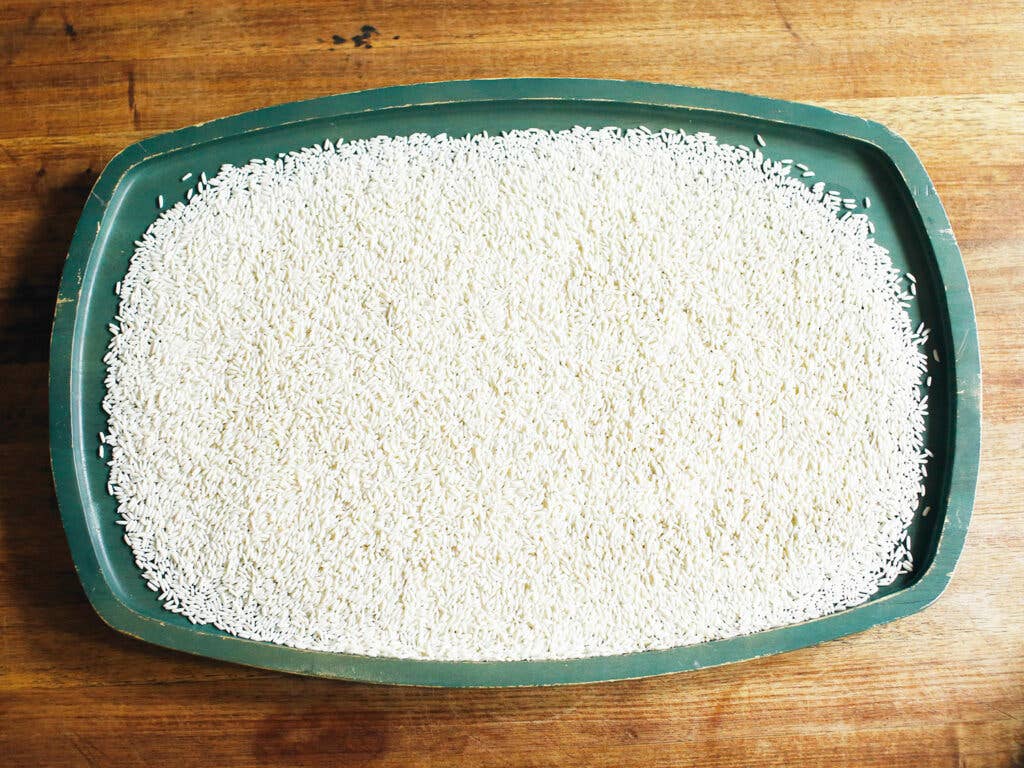
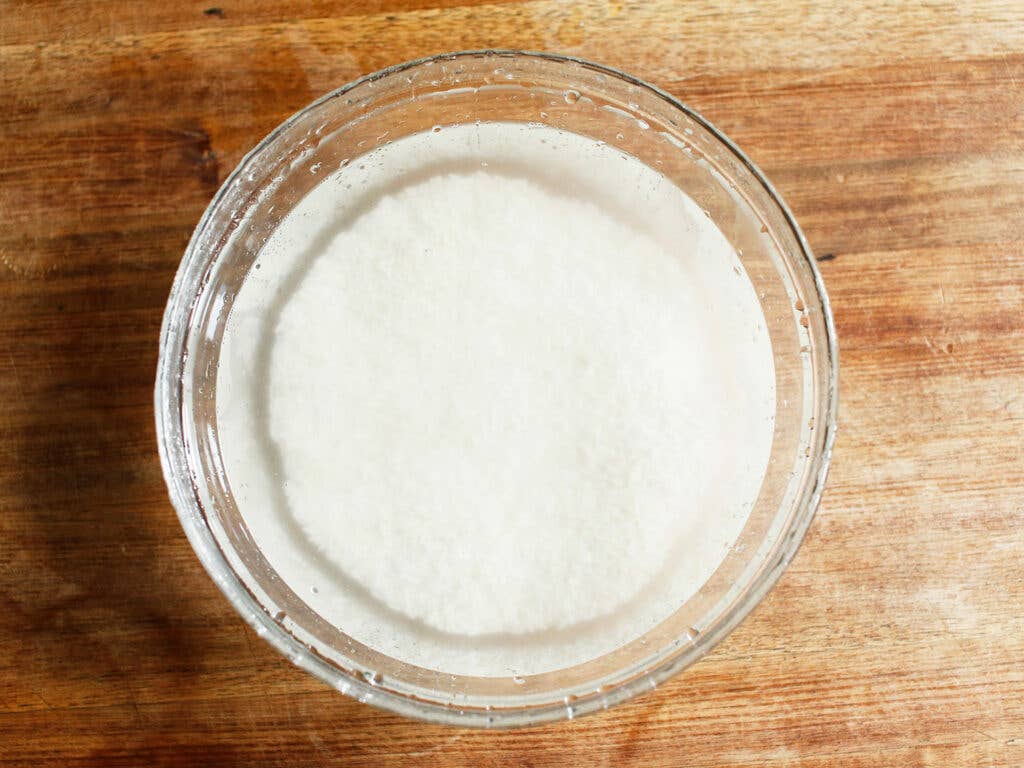
While this cooking method is relatively easy, it does require some advance prep. At least four hours before you’re ready to eat, cover the rice with plenty of cold water and set aside to soak at room temperature. While you can let the rice soak for longer, keep it under 10 hours; otherwise, the grains will get too soft. We like to leave a bowl of sticky rice to soak before heading to work in the morning and cook it for dinner when we get home. Alternatively, if you're in a hurry, you can soak the rice in hot water for two hours.
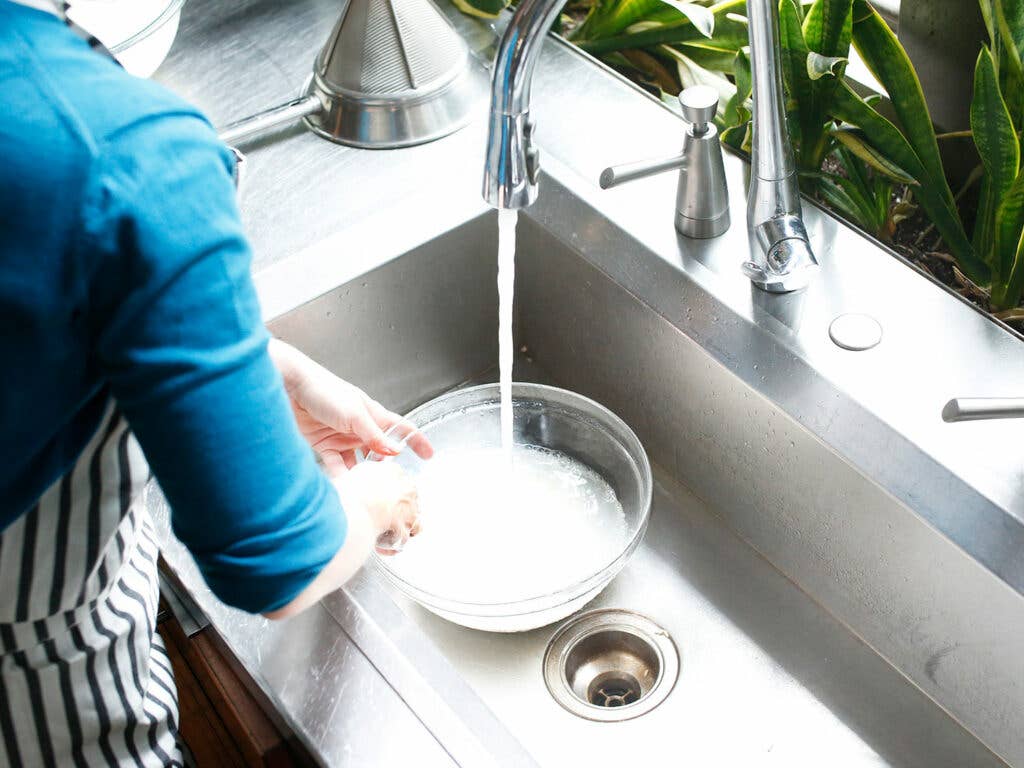
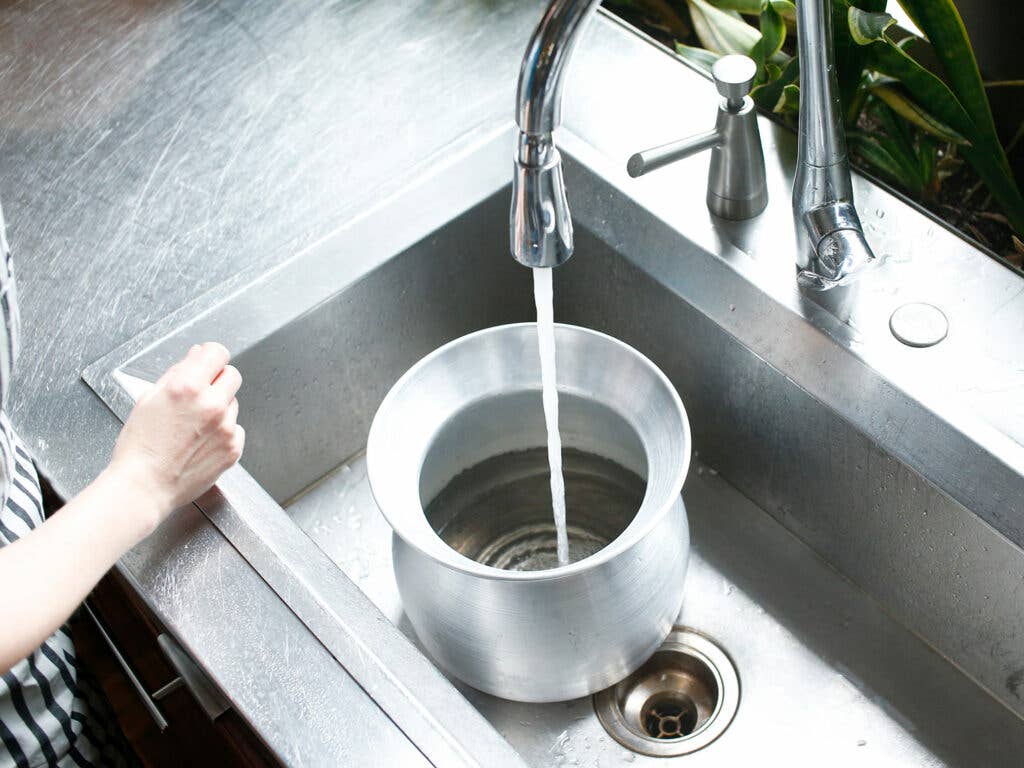
Rinse and Repeat
Once the grains are sufficiently softened, drain the rice, then gently rinse with fresh cold water. Repeat until the water is no longer cloudy.
Set Up the Steamer Pot
Filling the maw nueng is pretty straightforward: add enough water for it to not boil off during cooking, but not so much that it touches the bottom of the huat. None of the grains should touch the water during cooking. If the water does boil off before the rice is done, don't fret—simply lift the basket and add some more.
Soak Your Cheesecloth
While not necessary, this step makes cleanup a little bit easier by creating a barrier between the rice and the huat. Soak a clean double-layer of cheesecloth in cold water and line the huat. There should be enough fabric to come just about all the way up the sides.

Add the Rice...
Add the drained, soaked rice to the huat. Give the basket a few brisk shakes until the rice is level, then tuck the cheesecloth around the top.
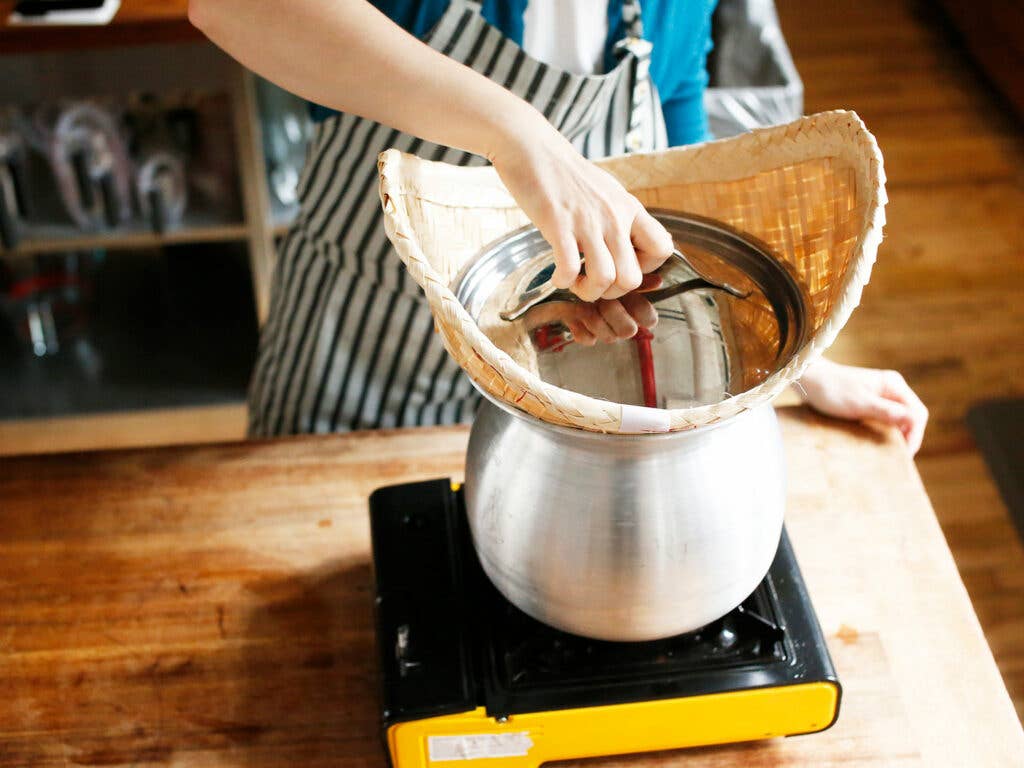
...and Steam!
Cover the huat with a pot lid to contain the steam. Bring the water to a steady boil. Set a timer for 15 minutes, then remove the lid. Using the sides of the huat, lift it out of the maw nueng. Gently jerk the basket up a few times to flip the bundle of rice. Return the huat to the maw nueng, and cover with the lid again. Continue cooking until the grains are cooked through, 30 to 35 minutes more.
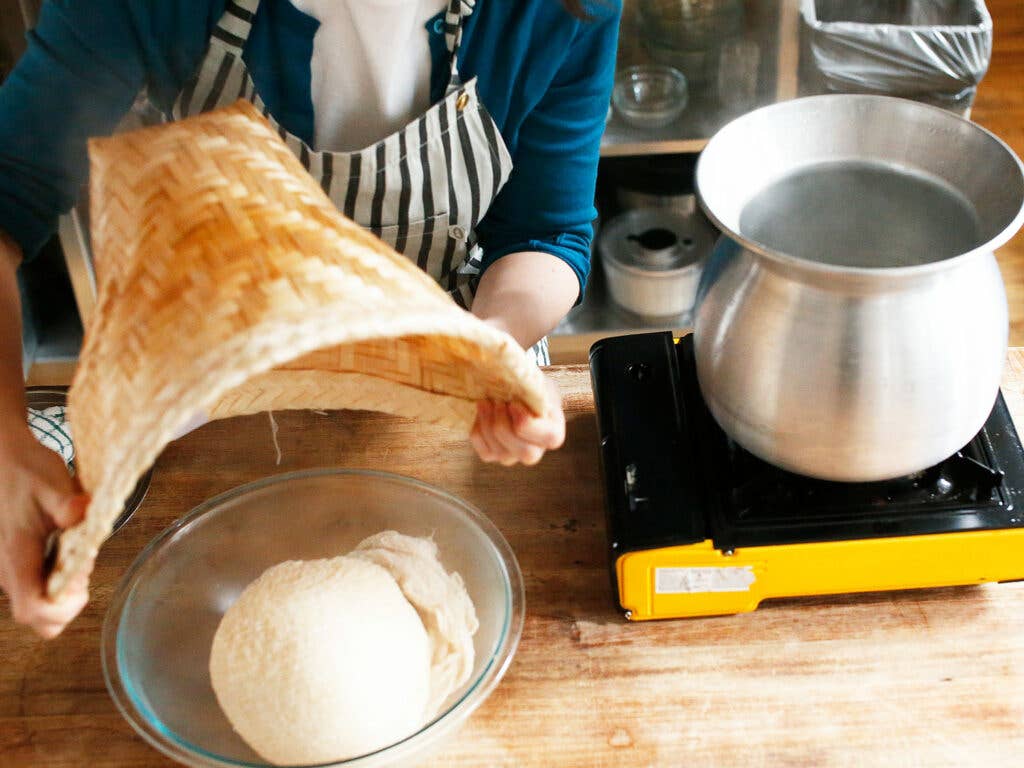
Let the Rice Rest
Once the grains are tender, they must be allowed to cool slightly off the heat to achieve their characteristically chewy texture. Turn off the stove, remove the lid, and use the sides of the huat to flip the bundle of rice into a large, heat-resistant bowl. Cover the bowl with a lid or plate. (Alternatively, the sticky rice can be kept warm for longer in a small cooler.) Set aside to rest for 10 minutes before tearing the rice into single-serving pieces.
Keep Reading


")


Continue to Next Story